This is the easiest chocolate sheet cake: It's ultra moist, needs just a few fridge and pantry staples (no buttermilk required!) and is ready in about an hour. Perfect as a birthday cake or dessert for a crowd. Topped with our favorite chocolate fudge frosting!
I'm always wary of internet recipes that use qualifiers like "the best." So please know that I take it very seriously when I tell you that this chocolate sheet cake? It is THE BEST.
We're working with a simple chocolate cake recipe here (all from scratch!) Just whisk a quick homemade batter together, pour it into a prepared sheet pan, and bake. When the cake is done, mix the frosting and pour it over the cake while it's still a bit warm - as it cools, the frosting will set into a thick, rich, fudge icing that is out of this world.
Jump to:
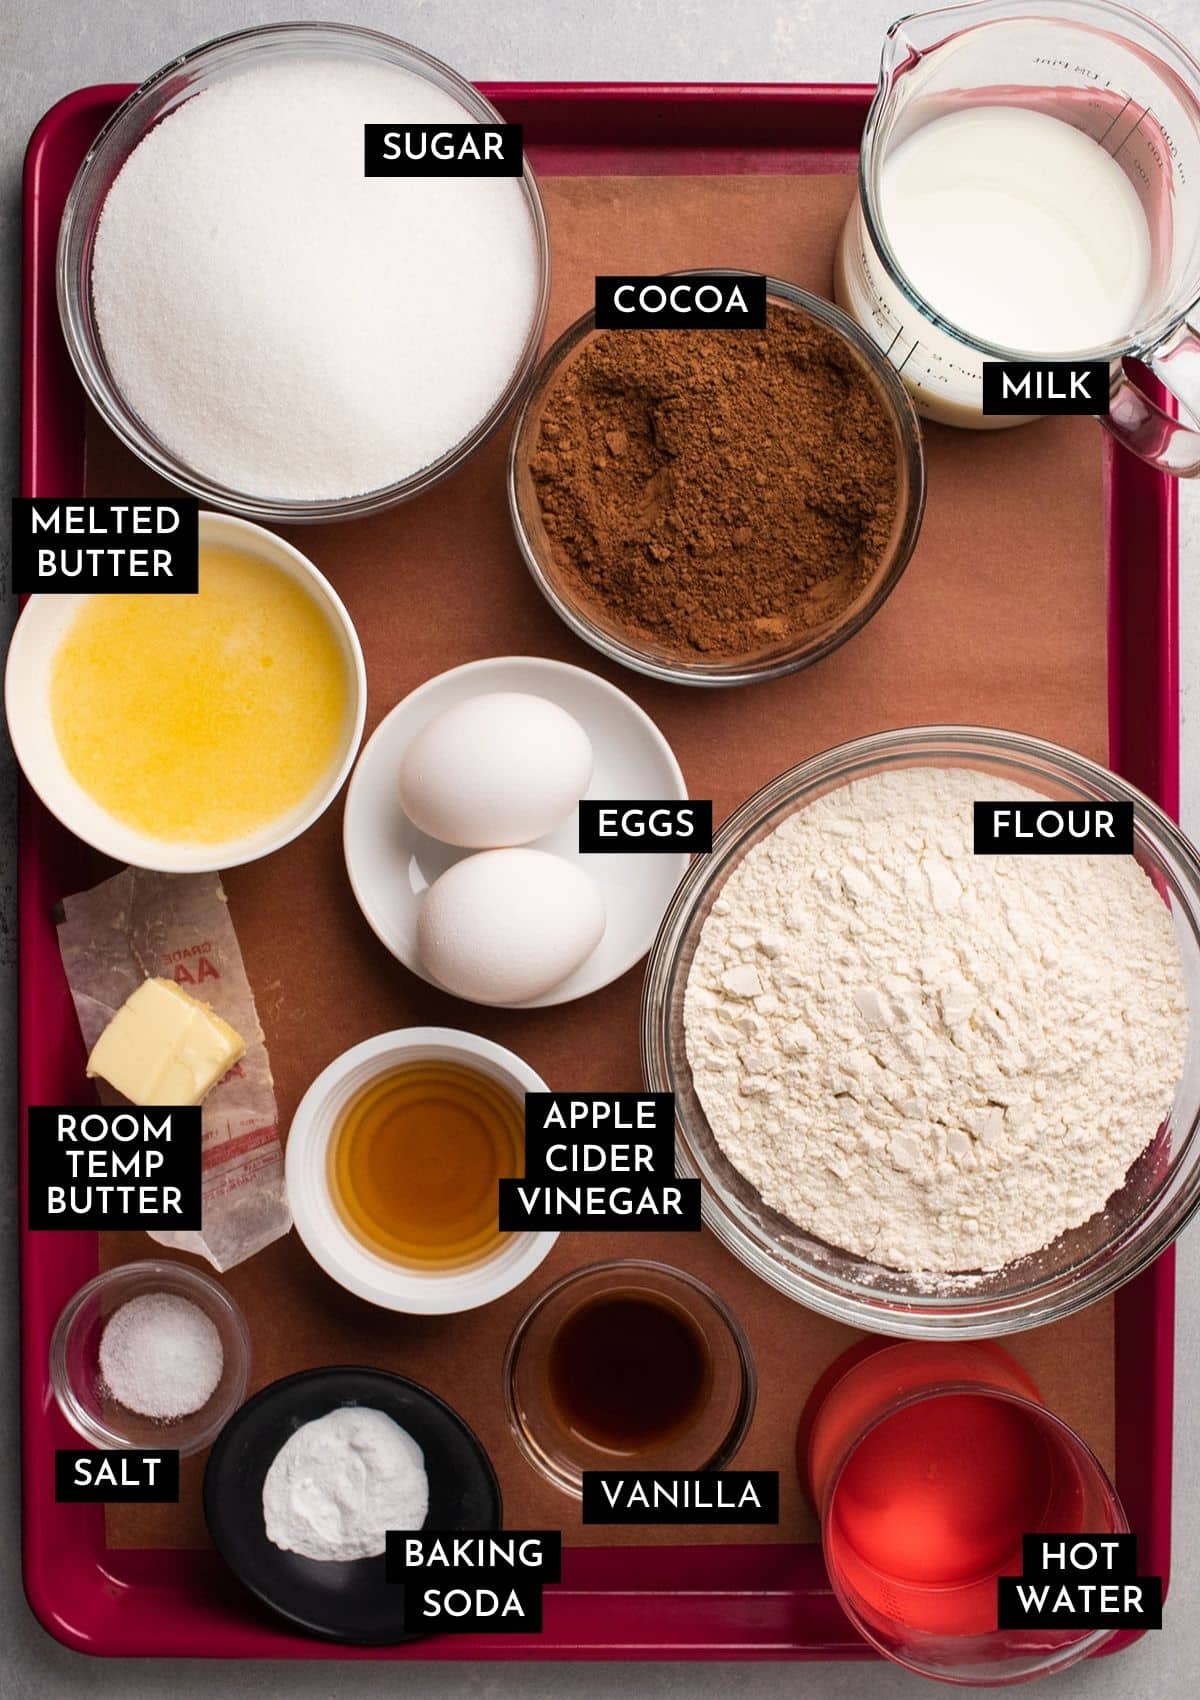
A few notes on ingredients
- Use high quality cocoa (we love Ghiradelli and King Arthur Baking) and vanilla (Nielsen Massey vanilla extracts are an investment, but are hands down the best we've tried) if you can. We've tested hundreds of chocolate cakes: These ingredients consistently make the biggest flavor difference.
- We'll use butter two ways here: Melted butter in the actual cake batter, and some room temperature butter to grease the sheet pan.
Why add hot water?
We stir hot (nearly boiling!) water into this batter to start the cooking process and "bloom" the cocoa, which just means we're 1) amplifying the chocolate flavor to make it deeper and richer and 2) helping the cake stay super-duper moist as it bakes.
I usually heat the water in my electric tea kettle, but you can boil it in a saucepan or kettle on the stovetop if that's easier. You can also substitute hot coffee for the hot water if you like!
Pro tip: Use a kitchen scale!
Measuring ingredients by volume (with cups) is notoriously unreliable; we always recommend following our gram measurements for best results. If you don't have a kitchen scale, measure your dry ingredients (especially flour, which is the most finicky) with the scoop-and-level method for best results.
Choosing and preparing a sheet pan
This cake is baked in a rimmed half sheet pan, which is typically 13" x 18", with a 1"-2" tall rim.
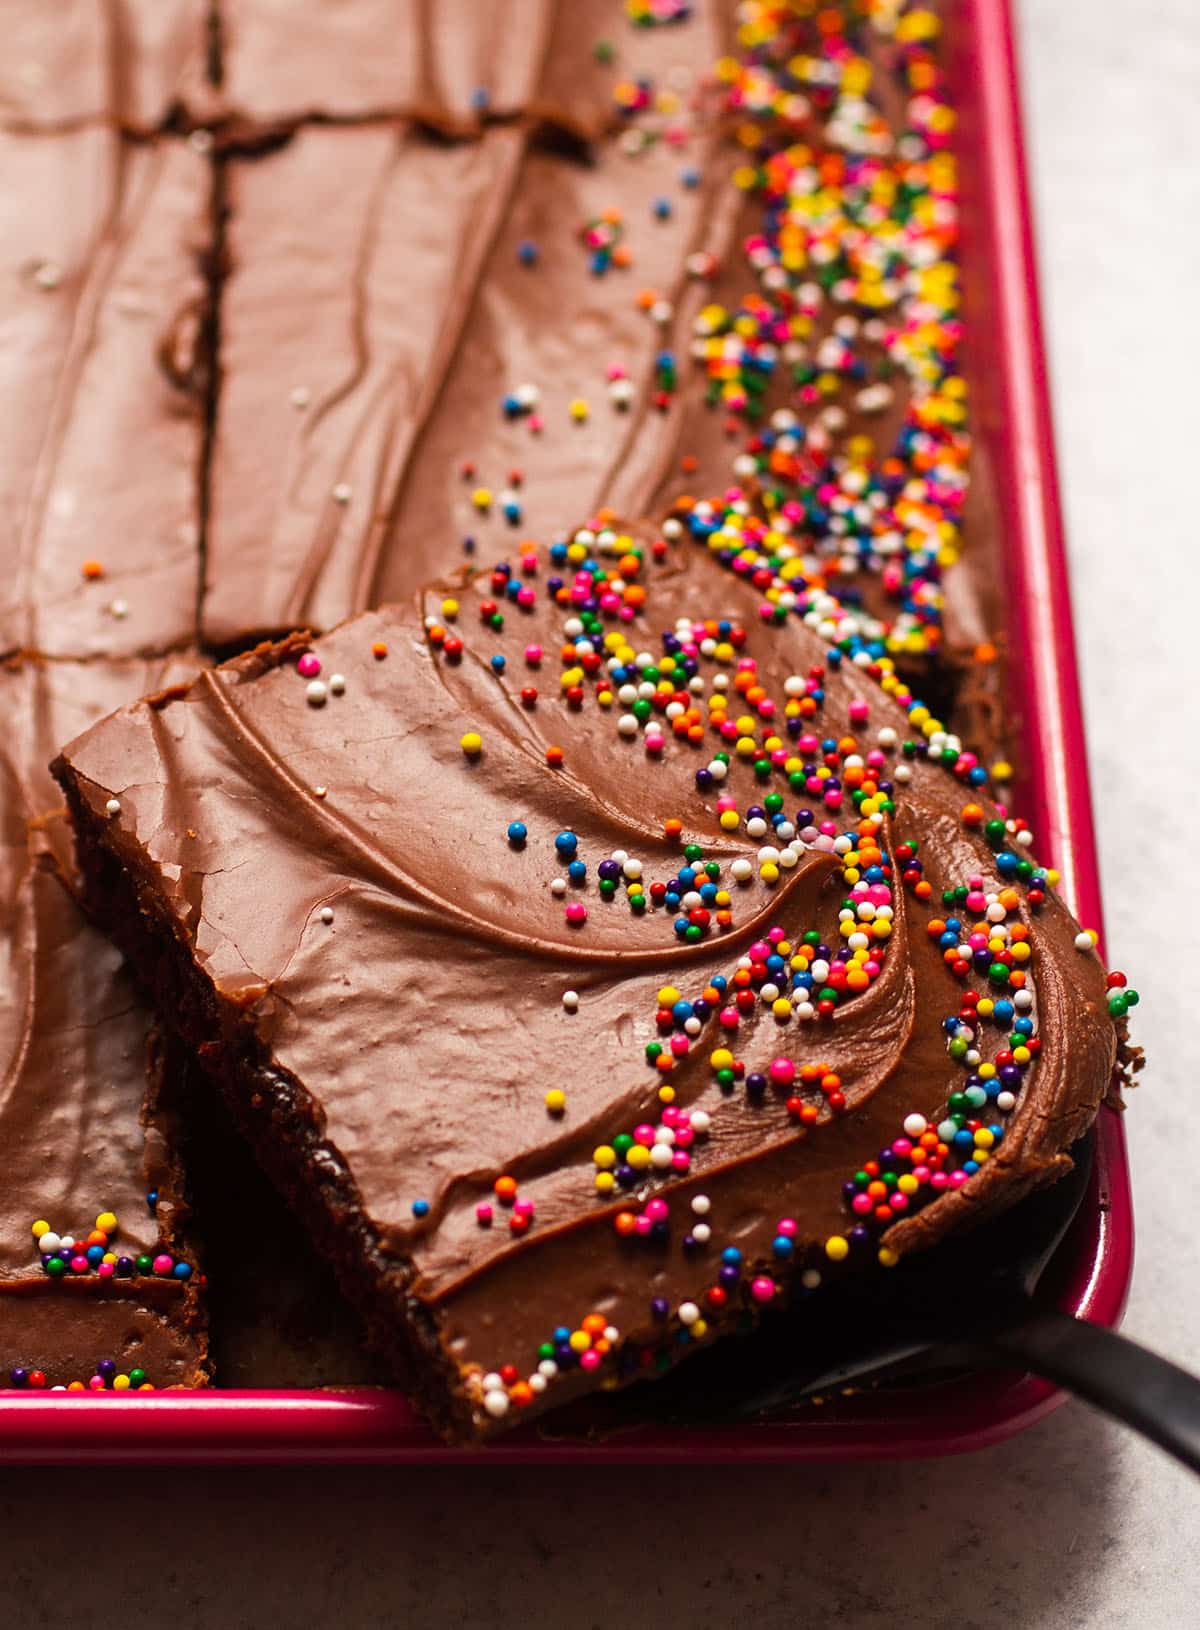
Nonstick pans (especially ceramic coated pans like the one in these photos) help the cake release cleanly. If you use a nonstick pan, opt for a light color: Dark metal conducts more heat, which can lead to a crispy texture along the sides and bottom of a cake (The dark pink color on our pan here is about as dark as we'd go: it gives a *slight* crisp along the very edges, but the trade-off is worth it to us because the cake releases from the pan so cleanly).
Make sure your pan is sturdy, thick, and won't warp in the oven. Choose a pan with rolled edges, which help maintain its shape. It also helps if you've used the pan before and have a sense of how it performs! Warping is often caused by big temperature changes: if your kitchen is especially cold, set the pan on the stovetop while the oven preheats to warm it up a bit so it won't be shocked into warping.
Our favorite sheet cake pan
We used our Great Jones Holy Sheet half-sized pan here. It's a steel pan, but its ceramic nonstick coating makes it easy to clean and helps food lift right off. I've been testing recipes with it for about a year and really like it so far (it's also dishwasher safe). The combo of steel (a pretty mellow heat conductor) and ceramic (a great insulator) means this cake stays moist and doesn't get too crispy along the edges.
PS - Learn more about the differences between pan types in this article on bakeware from the Bake School.
Greasing your pan
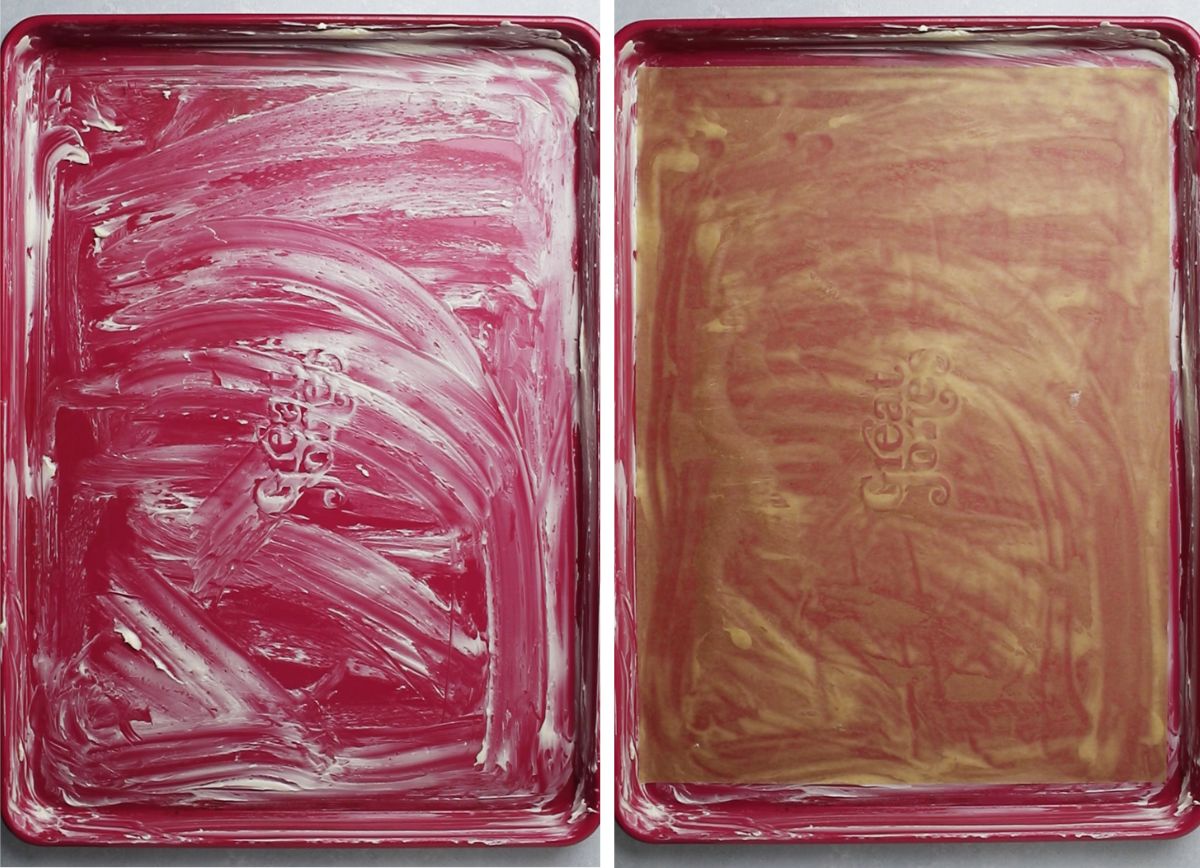
Prepare your sheet pan by spreading softened butter over the inside surface. You can do this with clean hands (I like to wrap the paper wrapper around the butter for a less-messy piece to hold onto) or use a silicone pastry brush to smush it (← fancy technical baking term) around the pan.
You can use cooking spray to grease the pan if you prefer, but we find a thick layer of butter helps cake release from pans much more cleanly.
Once your pan is buttered, we recommend pressing a sheet of parchment paper over the bottom surface. This is a good practice especially if your sheet pan is old and grimy (it happens!), as the butter can lift old stains and residue off the pan in the oven - we don't want those flavors on our cake! A piece of parchment also helps the cake release cleanly if you're using a textured pan (like this USA Half Sheet pan, which we love for roasting veggies but is less friendly to sheet cakes) and prevents any potential flavor leeching if your pan has reactive materials like aluminum or copper.
Please note: Wax paper is not a substitute for parchment paper. We do not recommend putting wax paper in the oven.
Our basic order of operations
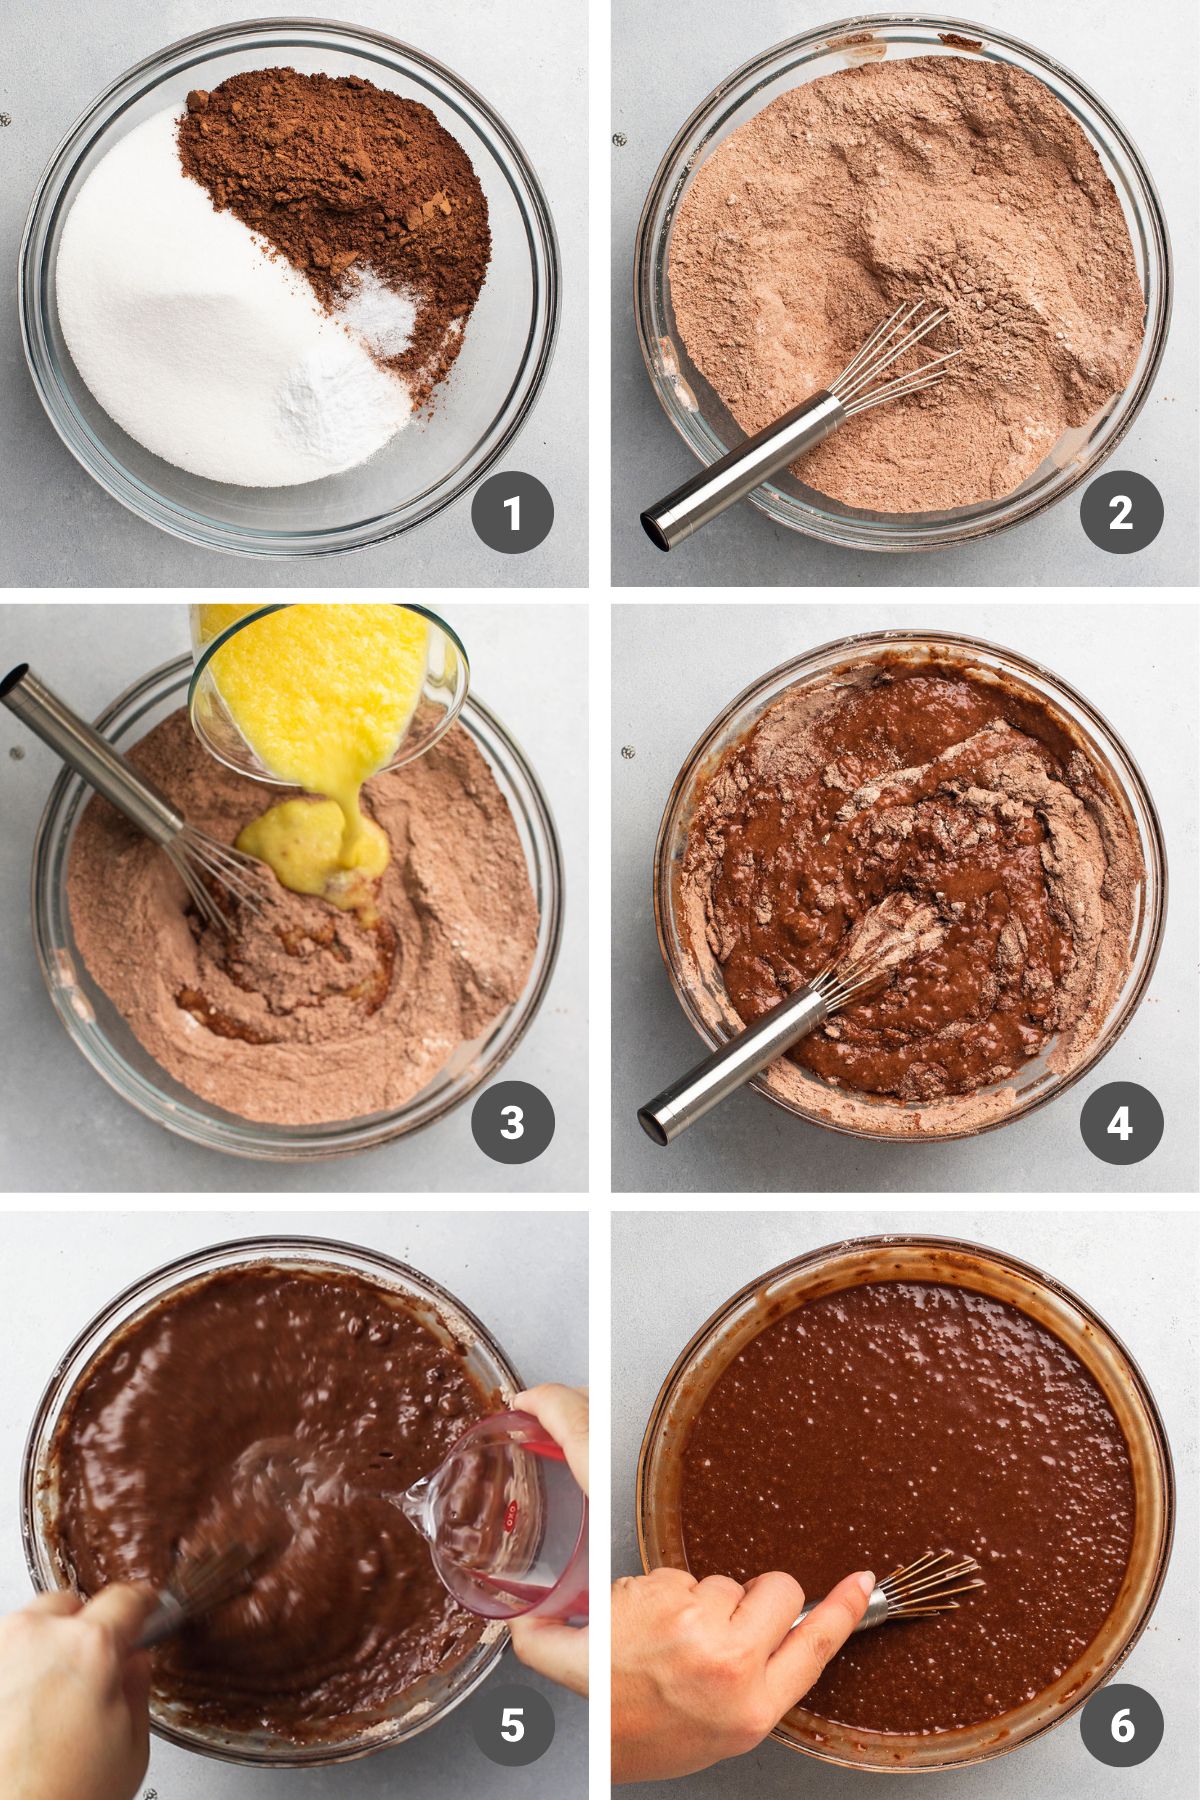
This cake comes together very quickly! Here's the ;TLDR version:
- Stir dry ingredients together in a large mixing bowl (you can also use a stand mixer!)
- Whisk wet ingredients together (excluding hot water) in a separate bowl or measuring cup.
- Pour wet ingredients into dry ingredients and whisk until they're barely combined, then slowly whisk in the hot water until you have a smooth batter.
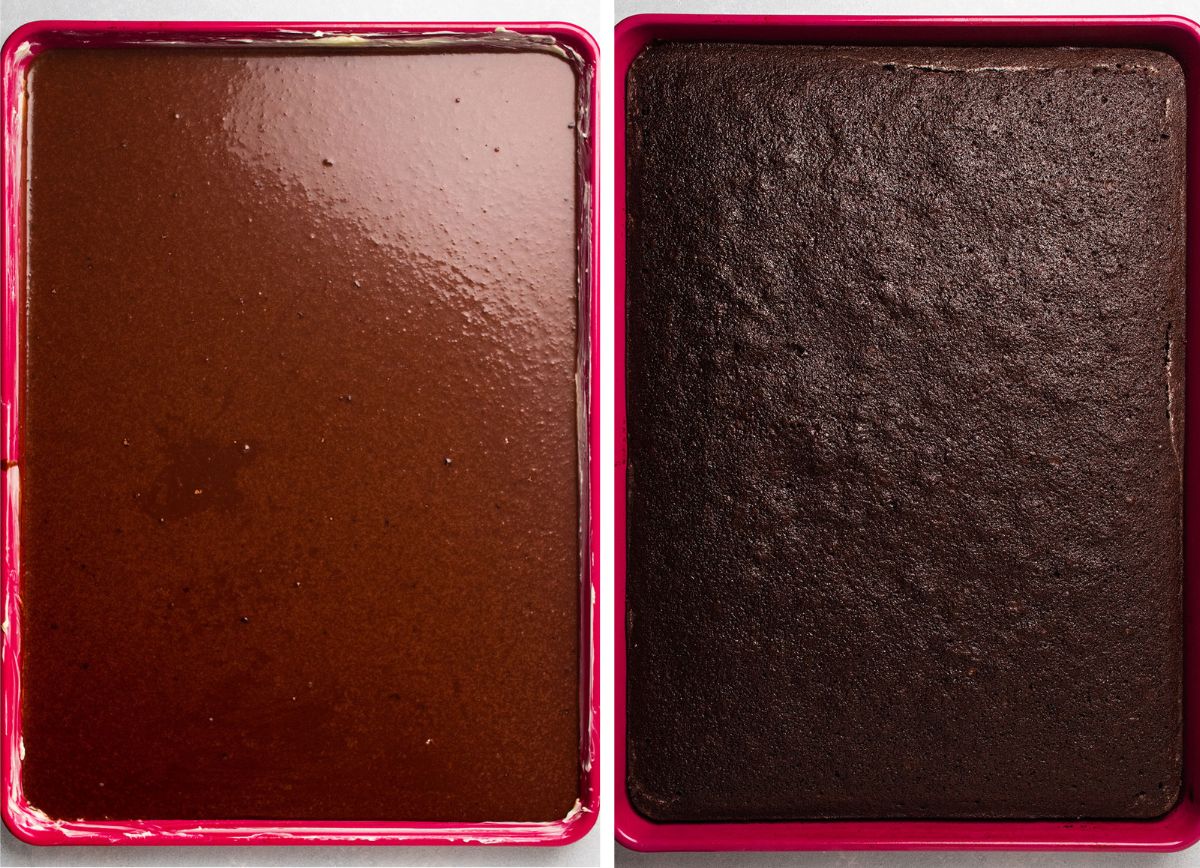
- Pour batter into a prepared sheet pan and bake!
- Let cake cool for 15 minutes while you make the frosting.
- Pour frosting over the warm cake and use an offset spatula to spread it around. Let it cool, then slice and serve!
Let's talk about this fudge frosting!
This chocolate fudge frosting is our favorite way to top cakes and cupcakes (you might recognize it from our fan-favorite Coconut Oil Chocolate Cupcake recipe!)
Frost this cake while it's still warm
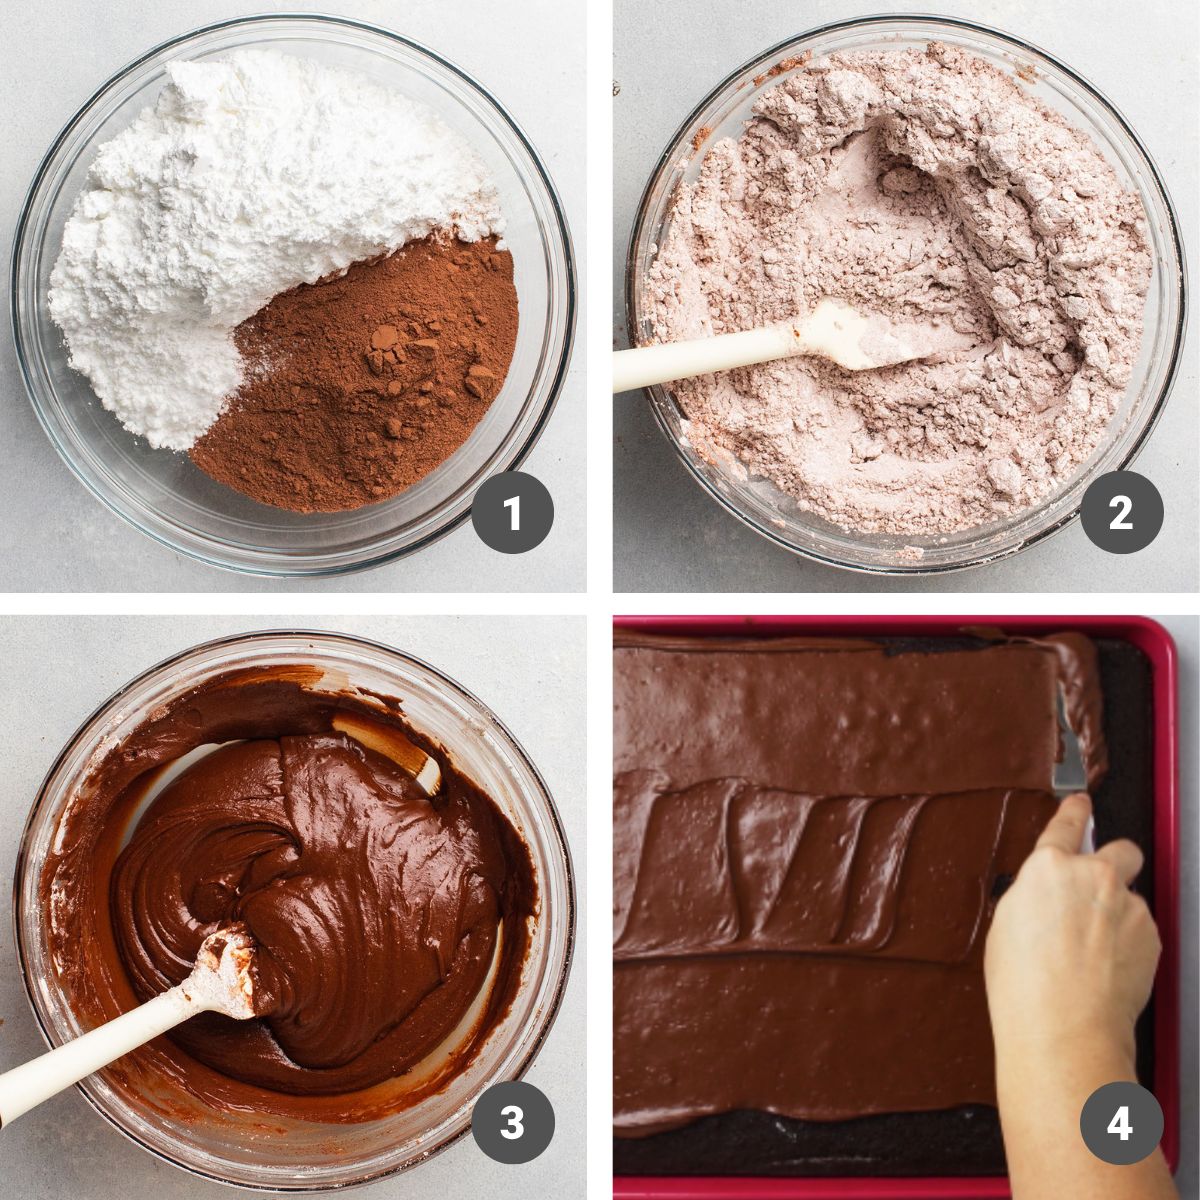
This frosting solidifies a bit as it sits, which gives it a rich, fudge-y texture (like a thick chocolate ganache). Because it starts to seize up as it cools, it's important to work quickly when frosting this cake.
Pull the cake out of the oven and let it cool - still in its pan - for 10-15 minutes while you gather your tools and prepare the frosting. When it's ready to frost, the cake should be warm (but not hot!) to the touch: you should be able to comfortably rest your hand on its surface. (If the cake is too hot, the frosting will just soak into the cake and disappear).
Once mixed, pour the frosting over the surface of the warm cake. Use an offset spatula to spread the frosting over the cake and into the corners, but try to move it as little as possible for a smooth appearance.
Pro tip: This frosting is fairly sweet: a thin layer goes a long way! If you want a thicker layer, you can double the frosting recipe.
Use a different frosting if you like!
A classic chocolate or vanilla buttercream, cream cheese frosting, or peanut butter frosting are all great here. If you decide to use a buttercream or whipped frosting, let the cake cool completely before spreading the frosting over the top.
What size cake can I make?
This recipe is easy to adapt for whatever size and shape you'd like!
As written, this recipe makes:
- One 13" x 18" thin sheet cake (pictured here!)
- 16-20 cupcakes
- One 9" x 13" thick sheet cake
- Two 8 to 9-inch round cake layers
- Three 6-inch round cake layers
If you'd like to make more cake, use the handy 2x and 3x buttons at the top of the recipe card below to scale the recipe! If you make it as written, this chocolate sheet cake will give you about 20 slices: Cut the cake into fifths along the long edge, and into fourths along the short edge for 3"-ish square pieces.
Two notes if you want to make a different sized cake:
- This fudge frosting can be challenging to spread over a layer cake since it cools so quickly. If you'd like to make a layered cake, we recommend a rustic "naked cake" look: spread a thick layer of frosting between each layer, but don't worry about spreading it around the sides. Use a traditional buttercream for easier layer cake frosting!
- You'll likely have to adjust the baking time if you experiment with different cake sizes. We recommend checking the cake around the 10-15 minute mark and then checking every 3-5 minutes for doneness until the top of the cake is set and a cake tester or toothpick inserted into the center of the cake comes out clean.
Sheet cake decorating ideas
Want to add a festive touch to your sheet cake? It's easy to decorate this for a birthday, graduation, wedding shower, and more!
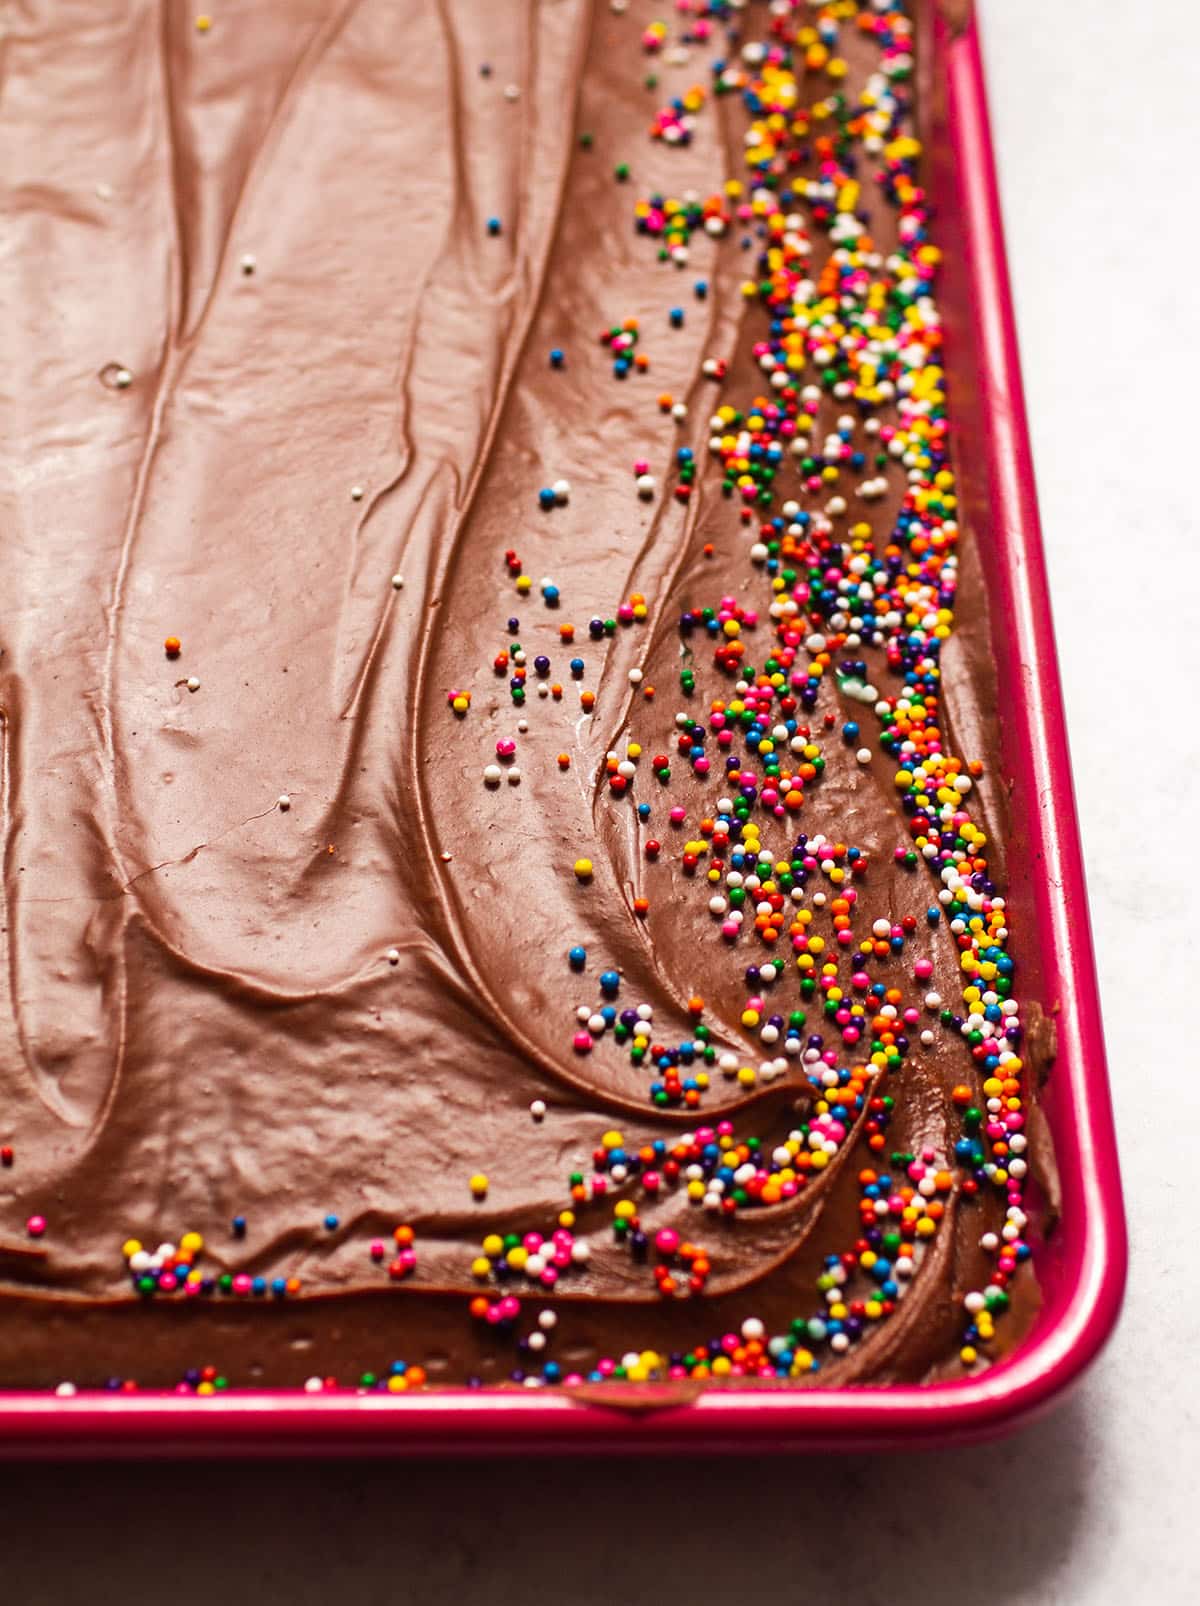
- Add sprinkles around the outer edges to give it a simple border (as seen here). Add sprinkles RIGHT after frosting this cake, when the frosting is still a bit wet and tacky. If you let the frosting sit for even a few minutes, it will start to seize up and the sprinkles won't stick! If your frosting DOES set too quickly, brush the areas where you'd like to add sprinkles with a thin layer of water, let it dry for a few seconds until it's just barely tacky, then add sprinkles. (If there's too much water, the sprinkle colors can run, which tastes fine but doesn't look as pretty!)
- Pipe buttercream decorations along the border of the cake. If you're new to piping, check out this great tutorial!
- Grab a few piping bags and fill them with various colors, then create a pretty mosaic frosting look across the top of the cake! See a full sheet cake decorating tutorial in this post from A Classic Twist.
A few FAQs
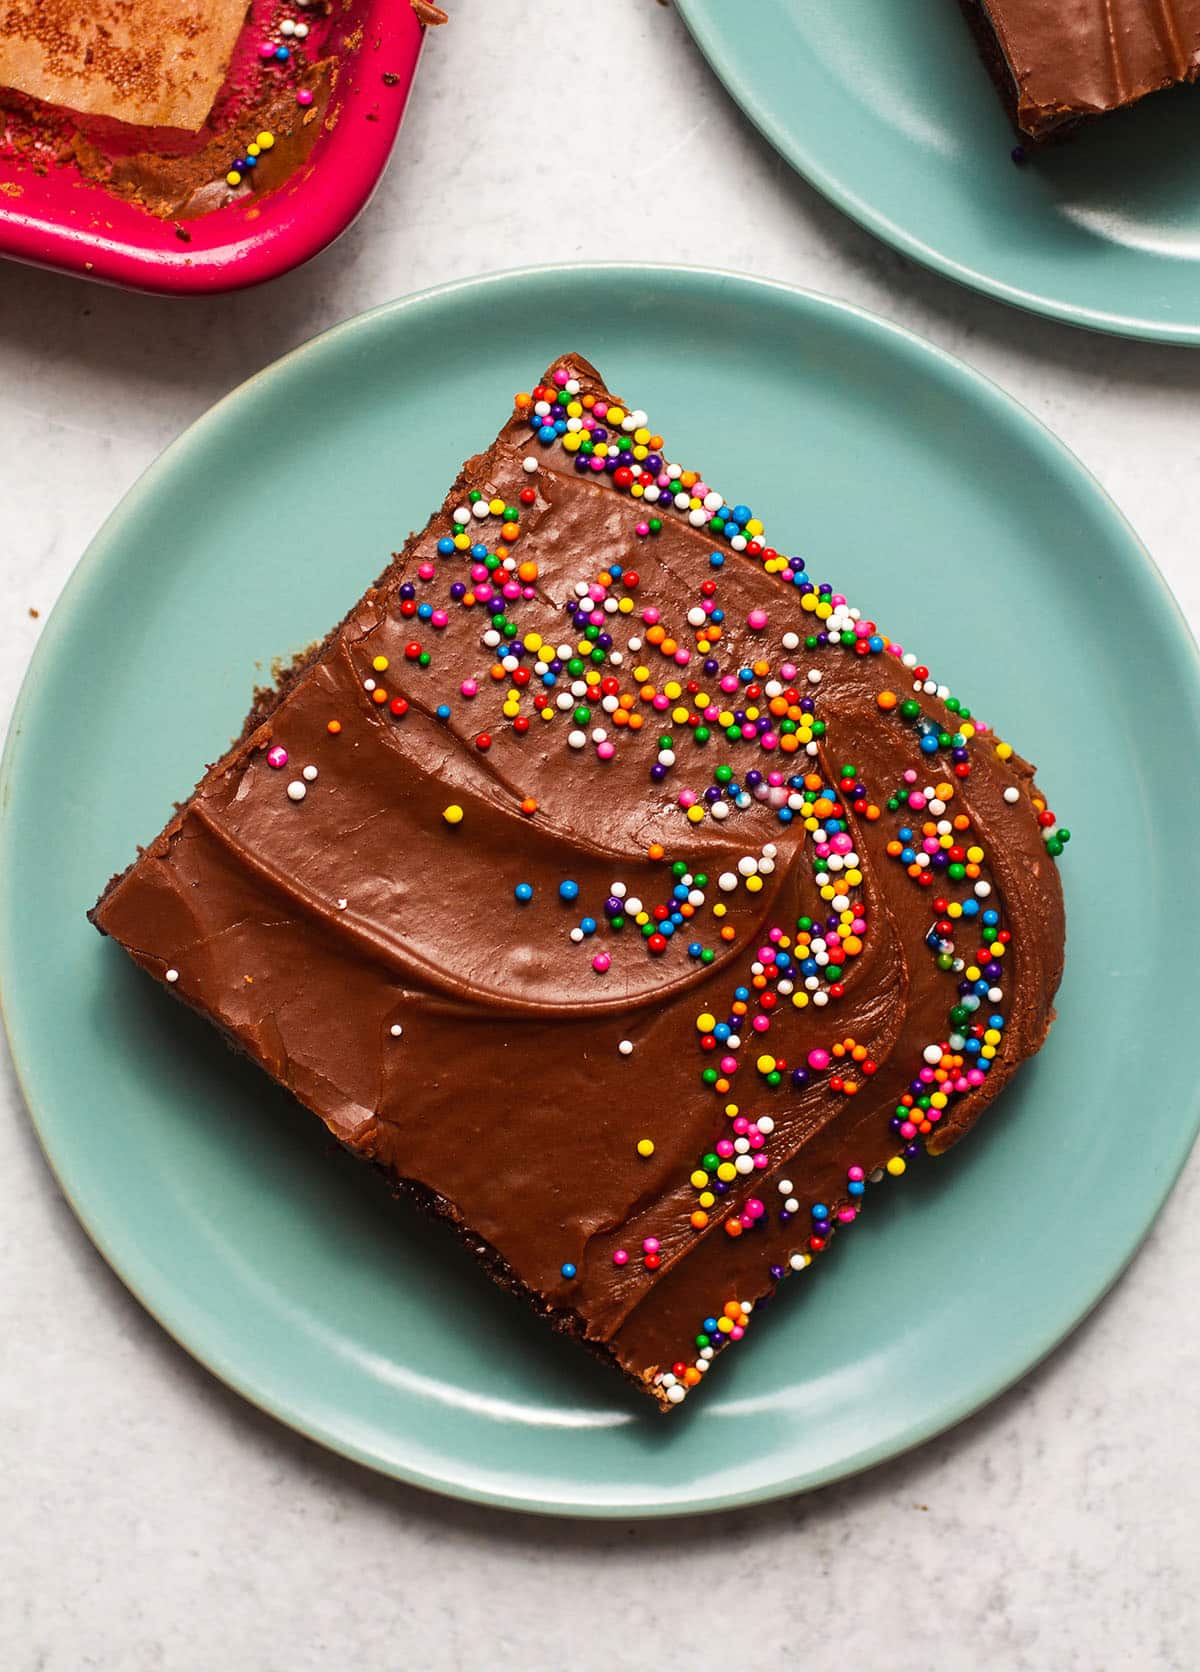
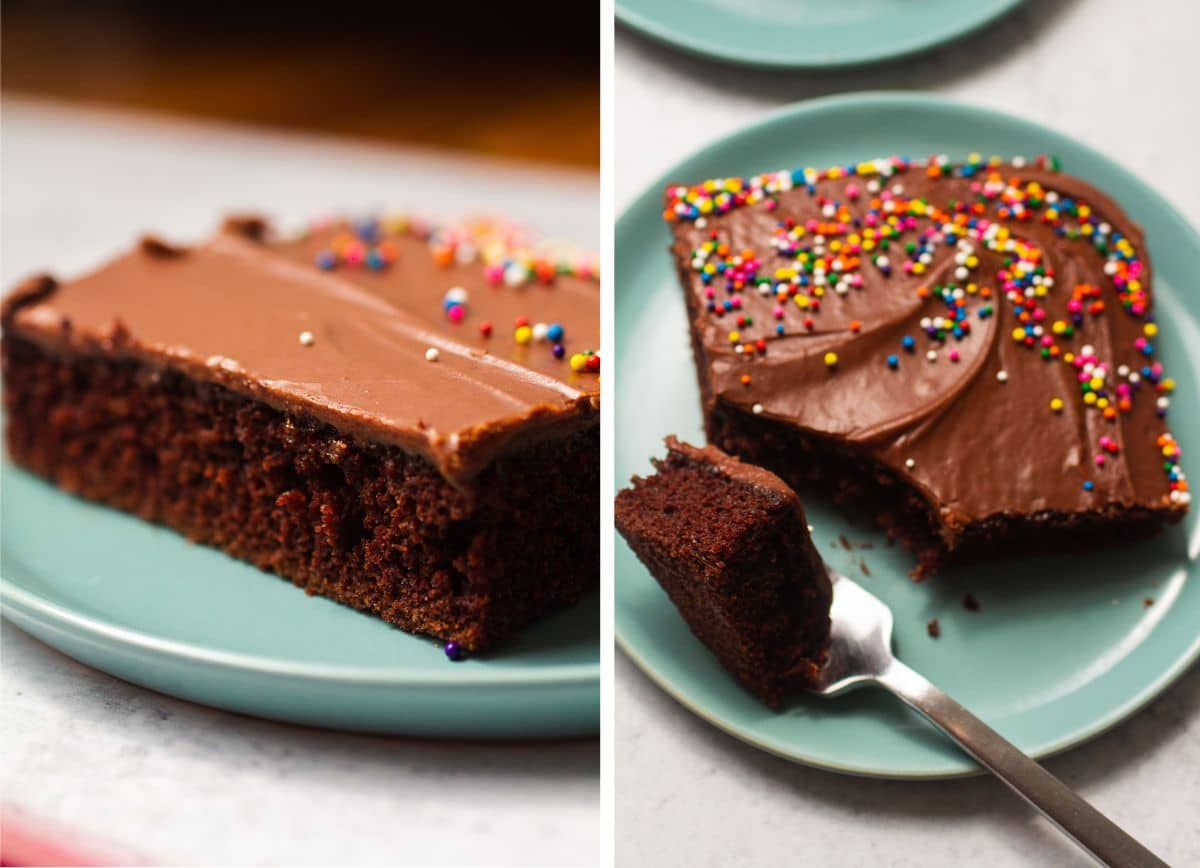
This sheet cake will last up to 5 days in an airtight container on the counter, but it's best eaten within a day or two of baking. After 2 days on the counter, the cake will start to dry out and the frosting will start to lose some of its fudge-y texture and melt into the cake. If you can't eat it all within 2 days, you can repurpose whatever's left into cake pops!
Yes - this cake freezes very well, even when it's frosted! To freeze, let cake cool completely, then slice and transfer to an airtight container (we like using Stasher Bags). It will keep in the freezer for 2-3 months without losing flavor. To defrost, place frozen cake on the counter, and let it come back to room temp for a few hours. See more cake freezing tips in our post on how to freeze cupcakes.
Yes! Use melted coconut oil in place of melted butter (and solid coconut oil in place of room temperature butter) throughout this recipe, just like we do in our Coconut Oil Cupcakes.
Video: How to Make Chocolate Sheet Cake
📖 Recipe

Easy Chocolate Sheet Cake with Fudge Frosting
- Prep Time: 30 minutes
- Cook Time: 20 minutes
- Total Time: 50 minutes
- Yield: Serves 20 1x
- Category: Dessert
- Cuisine: American
- Diet: Vegetarian
Description
This chocolate sheet cake is the best simple dessert for birthdays, celebrations, and potlucks.
Ingredients
To prepare the pan:
- 2 Tablespoons unsalted butter, at room temperature
For the sheet cake:
- 2 cups sugar (400 grams)
- 2 ¼ cups flour (measured correctly by scooping and leveling) (280 grams)
- ⅔ cup cocoa powder (50 grams)
- 2 teaspoons baking soda (8 grams)
- ½ teaspoon kosher salt (2 grams)
- ½ cup (1 stick) unsalted butter, melted
- 1 cup milk (230 grams)
- 2 eggs
- 2 Tablespoons apple cider vinegar (30 grams)
- 2 teaspoons vanilla extract (8 grams)
- 1 cup hot water (see recipe notes) (230 grams)
For the frosting:
- 3 and ½ cups powdered sugar
- ¾ cup cocoa powder
- ½ cup melted butter
- pinch of salt
- ⅓ cup hot water (between 175-200 degrees F; you may not need it all)
- ¼ cup of your favorite sprinkles (optional)
Instructions
For the sheet cake:
- Heat the oven to 375° degrees Fahrenheit.
- Grease a 13x18 sheet pan with softened butter, then press a piece of parchment paper into the bottom of the pan.
- In a large mixing bowl, whisk together sugar, flour, cocoa powder, baking soda, and salt.
- In a small mixing bowl or measuring cup, whisk together melted butter, milk, eggs, apple cider vinegar, and vanilla extract.
- Pour wet ingredient mixture into dry ingredients and whisk until not quite combined, then whisk in hot water a little at a time until you have a smooth, thin batter.
- Pour batter into prepared sheet pan. Transfer to the oven and bake at 375° F for 14-18 minutes, until a cake tester or toothpick inserted into the center of a cupcake comes out clean.
- Remove cake from the oven and let it cool, still in the pan, for 10-15 minutes while you prepare the frosting.
Note: If you prepare the chocolate fudge frosting as written in this recipe, you should pour the frosting over the cake while it is still warm to the touch. If you’re using a different frosting, like buttercream, let the cake cool completely before frosting.
For the chocolate fudge frosting:
- In a large bowl, mix melted butter, cocoa powder, and powdered sugar together with a pinch of salt. The butter will clump up a bit and form a crumbly mixture - this is what we want!
- Add hot water to powdered sugar mixture a Tablespoon at a time, stirring well between each addition. The frosting will slowly start to come together, and will look almost like a thick pudding consistency: it should be loose and pour-able.
- Pour the frosting over the warm cake and use an offset spatula to work the frosting across the surface and into all the corners. Work quickly here: the frosting will begin to set as it cools.
- Add your favorite sprinkles or chopped nuts around the edges of the cake while the frosting is still wet (optional). Let cake cool completely, then slice and serve.
Notes
How hot should my water be? The hot water in this cake batter should be not quite boiling (175° F or so - about the temperature you’d use for making tea). You can bring water to a boil in a pan or kettle on the stovetop while you prepare the rest of your ingredients, or use an electric tea kettle to heat the water. If you don’t have the time or equipment to heat water this way, you can use water straight from the tap on its hottest setting - it won’t draw out quite as much chocolate flavor, but it will still work!
Please use a kitchen scale! Measuring ingredients by volume (with cups) is notoriously unreliable: For best results, use a kitchen scale and measure your ingredients by weight using the gram measurements above. If you don’t have a scale, measure your ingredients (particularly flour and cocoa) with the scoop-and-level method for best results.
Equipment notes. Use a rimmed half sheet pan for this cake (it should measure 13” x 18” and be at least 1” tall). If you use a nonstick pan, choose a lighter color if possible (darker pans conduct more heat and can result in crispy edges; if you use a dark pan, reduce the oven temperature to 325° and add an extra 3-5 minutes to the bake time). Choose a sturdy pan that won’t warp in the oven. We used a Great Jones nonstick half sheet pan in these photos. Use parchment paper (not wax paper) to line your sheet pan and help the cake release easily.
Can I make this cake with a stand mixer? Yes! Mix this cake in the bowl of a stand mixer fitted with the paddle attachment. Pause the mixer and scrape down the sides of the bowl once or twice while you mix the hot water into the batter to ensure you work out any lumps.
Storing and freezing this cake. Extra cake slices will last up to 5 days in an airtight container on the counter, although the texture is best if this cake is eaten within 1-2 days of baking. Freeze leftover cake slices in an airtight container in the freezer for up to 3 months; defrost frozen cake on the counter when you’re ready to eat it.
Additions and Substitutions. Use coconut oil in place of some or all of the butter in this recipe (see more tips in our Coconut Oil Cupcakes recipe). You can also use vegetable or canola oil in place of the melted butter in the cake batter. Use hot coffee instead of hot water in the cake batter if you like. Use cooking spray instead of softened butter to grease your sheet pan if you prefer. Use your favorite buttercream frosting in place of the chocolate fudge frosting in this recipe (note: if you use buttercream, let the cake cool completely before frosting). Use chopped walnuts, pecans, or pistachios instead of sprinkles to decorate the cake.
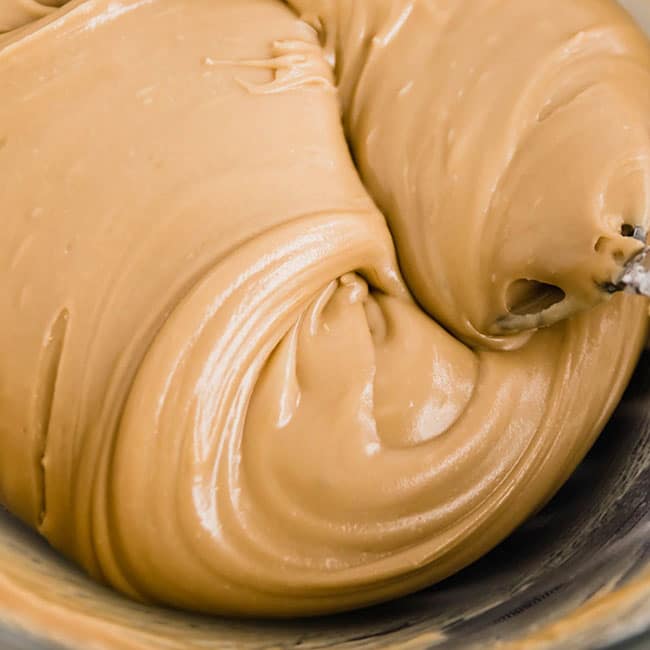
The chocolate fudge frosting in this recipe will start to seize up as the butter in it cools, so work quickly to frost your cake. The frosting will be quite thick and will resemble warm fudge - it won’t look or feel like the traditional buttercream or whipped frostings we’re often used to. If the frosting is too thin (this often happens when too much hot water is added) add extra powdered sugar or let it cool on the counter for a few minutes to thicken it up. If frosting is too thick, stir in an extra splash of hot water or zap it in the microwave in 5-second intervals to loosen it. I love that this frosting develops a rich, fudge-like texture as it cools (it’s one of my most-requested frostings from friends and family!) but you could also use a more traditional buttercream here if you prefer.
This recipe makes a thin layer of frosting. If you'd like a thicker frosting layer, we recommend doubling the frosting recipe.
Nutrition
- Serving Size: One 3" square slice
- Calories: 328
- Sugar: 41.4 g
- Sodium: 289.6 mg
- Fat: 11.8 g
- Carbohydrates: 55.9 g
- Protein: 3.7 g
- Cholesterol: 46.3 mg
Keywords: frosting, dessert, chocolate, cake
Love this recipe? Try our Small Batch Chocolate Cupcakes next →


Mel
For some reason the sheet cake was very flat for me..think perhaps because I’m using Australian ingredients? When you say flour do you mean plain flour with no rising agent? Or one with ie we call it Self raising flour..as the 2 tsp of baking sod did nothing and it looked like a pancake!
Team Life As A Strawberry
We use all-purpose/plain flour with no rising agent in this recipe. The cake is designed to be thin, about 3/4 inch high in a 13x18 inch sheet pan (the video shows best the height and texture we expect!), but it is possible that ingredients or elevation had an impact on your cake batter. The recipe can also be baked in a 9" x 13" pan for a thicker cake!
Jon U
Excellent recipe, both in the journey and the destination. Never made sheet cake or fudge frosting before, so I appreciated the notes on expecting some of the unintuitive steps (batter being really thin, frosting being dry & clumpy before adding hot water). Without all the helpful details, I definitely would’ve thought I went wrong despite following the recipe. Gonna make this again for sure
★★★★★
Team Life As A Strawberry
WAHOO! We're SO happy your first sheet cake was a success!