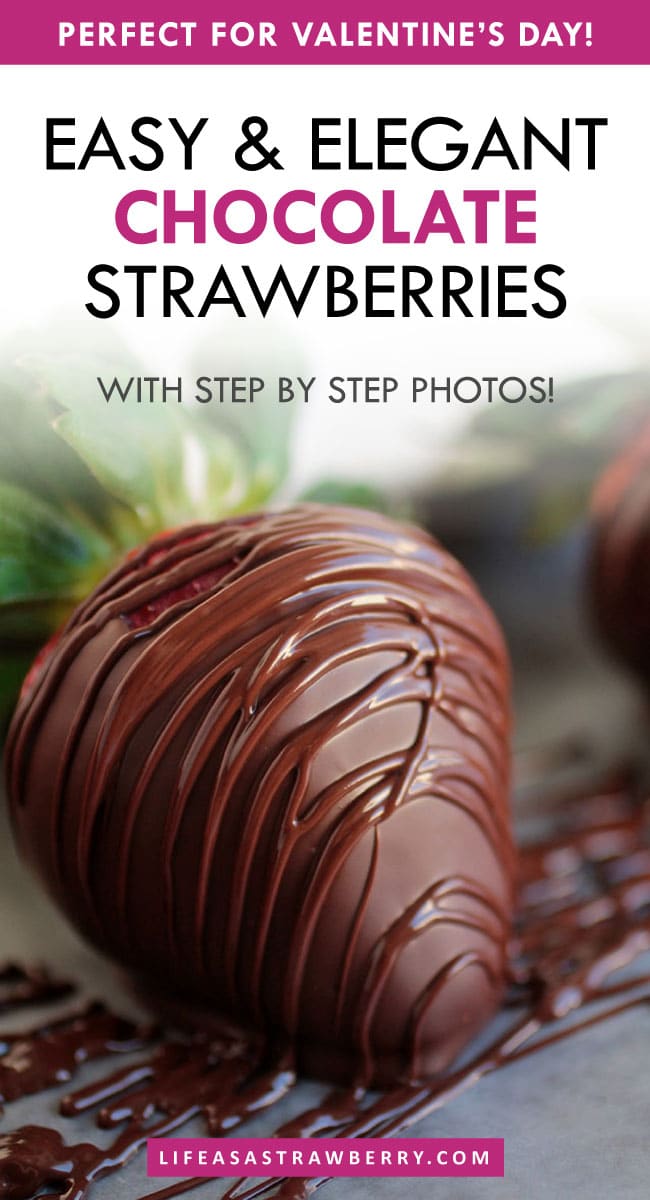
Our favorite chocolate strawberries! Give classic chocolate covered strawberries a twist with easy DIY chocolate letters to spell a custom message. Perfect for Valentine's Day! Includes a free printable.
Let's go ahead and file these dipped chocolate strawberries under "things that feel FANCY but are actually SO, SO EASY." (Also in this category: These chocolate coconut oil cupcakes and these salted dark chocolate olive oil cookies, *drooooool*)
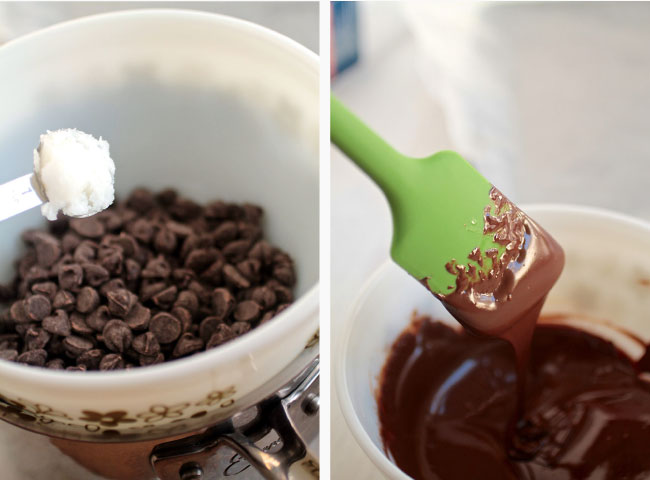
This recipe is mostly about technique - the only "cooking" you really need to do is melt some chocolate. We use a double boiler method here, but you could just as easily melt it in the microwave (heat in a microwave-safe bowl for 20 seconds at a time, stirring well in between).
We like to add a little bit of coconut oil to help our melted chocolate stay nice and glossy and to make it easier to work with. It also makes the strawberries easier to eat - slightly softer chocolate means the chocolate shell won't split off into a million pieces and fall off the berry as soon as you take a bite.
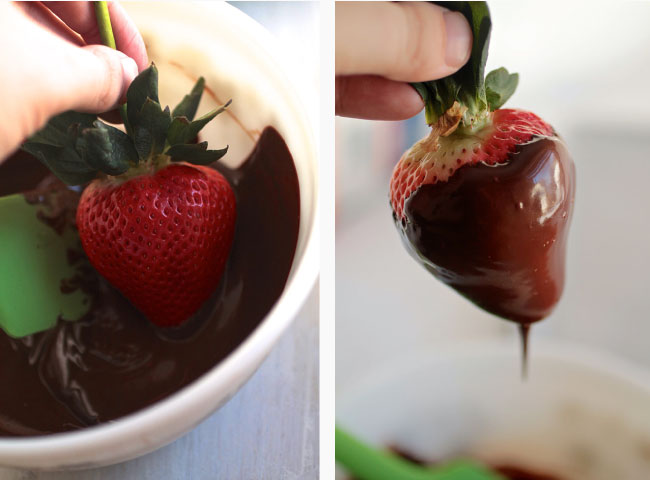
These homemade chocolate covered strawberries have four main steps:
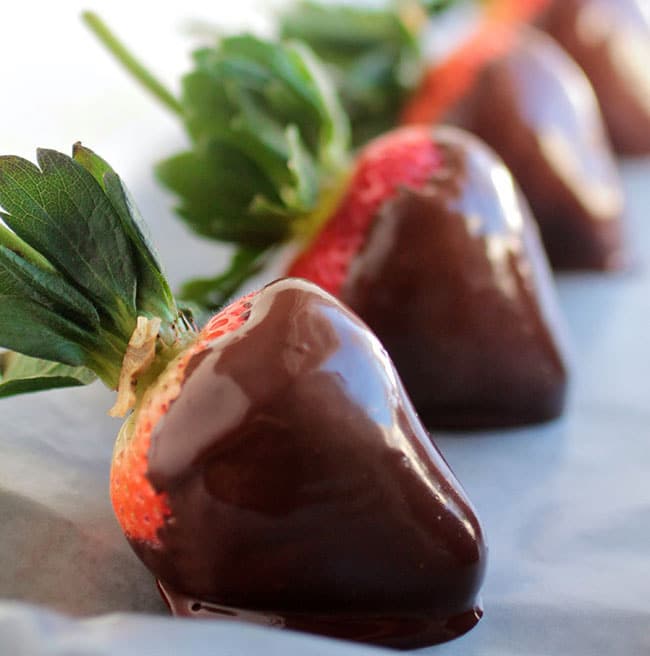
- Dip the strawberry in chocolate. Let the chocolate cool a bit.
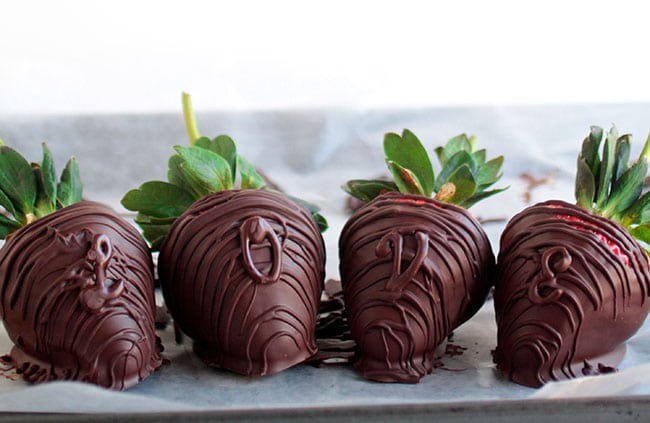
- Pipe some chocolate letters onto a sheet of wax paper, silicone mat, or Stasher Bag (don't worry - we'll show you how!) We like spelling "love" (err...love spelling love?) because awwwww. Then let those letters cool!
- Drizzle the strawberry with more chocolate.
- Pop your chocolate letters onto the strawberry (the fresh chocolate drizzle will act like glue and help them stick!)
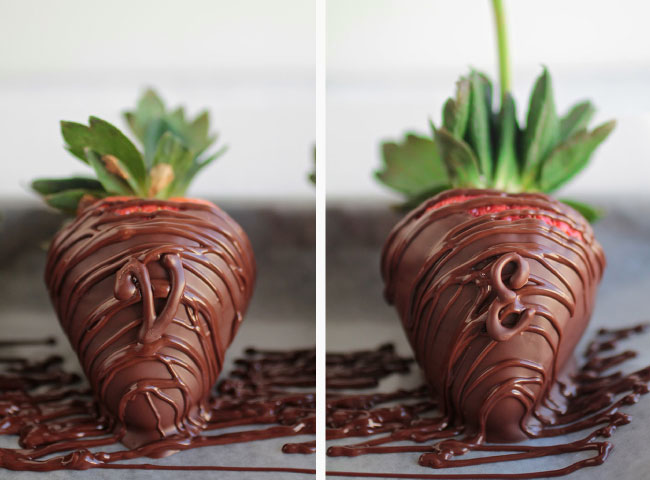
You can absolutely skip the chocolate letters here if you like - they take a little bit of time, yes, but we promise they're deceptively easy to make. These strawberries are just as beautiful with the drizzle on its own, though!
How to make chocolate letters (FREE PRINTABLE)
- Print out this printable (or print out a word of your choice in your favorite font!)
- Cover the page with a piece of wax paper. (For a lower-waste option, we like to pop the paper inside of a clean Stasher Bag and pipe directly onto the silicone! Works just as well, plus no wax paper to toss).
- Put whatever melted chocolate remains after you've dipped all your berries into a piping bag (or use a plastic bag and snip a tiny bit of the bag's corner off to make a piping bag).
- Trace the letters with the piping bag, then let the letters cool until the chocolate is solid.
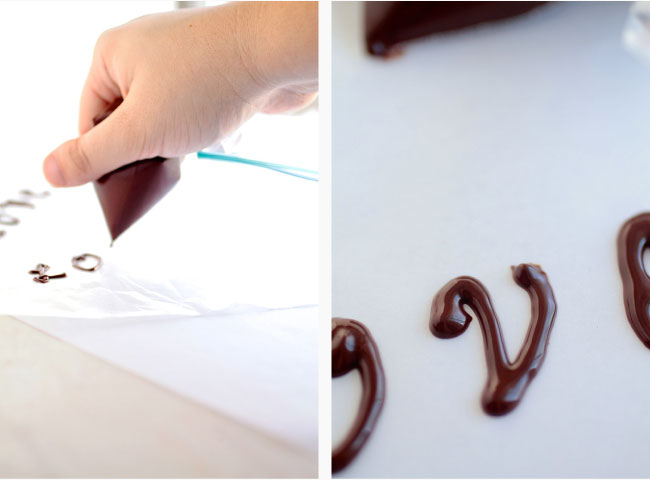
When your chocolate letters have set, it's time to assemble!
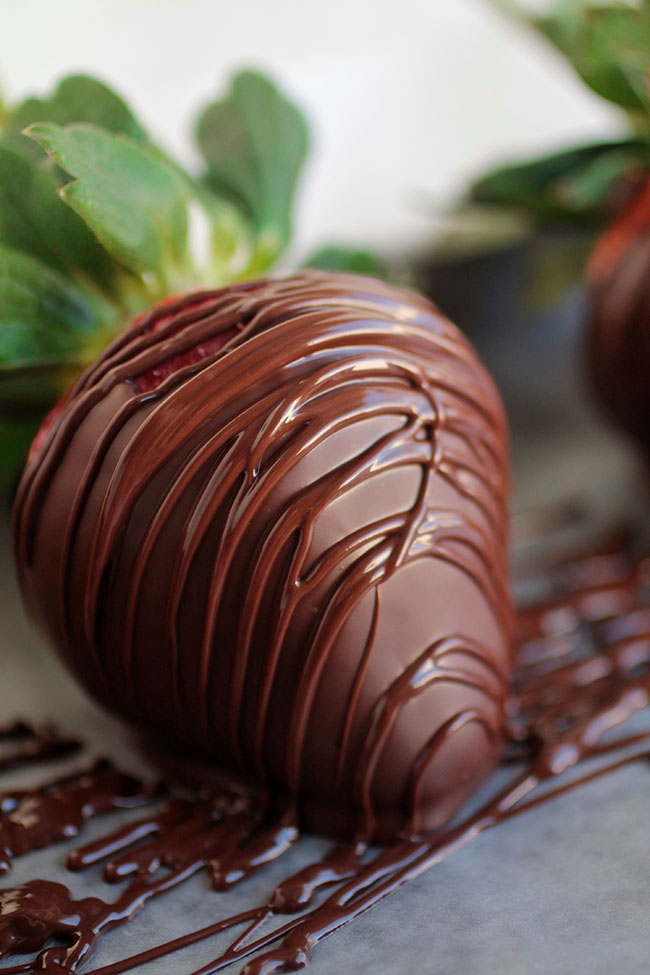
Pipe the chocolate drizzle over your berries, then gently peel the chocolate letters off the wax paper and place them on the still-wet drizzle (it's just like glue!)
Pro tip: try not to touch the chocolate letters, because you might leave a fingerprint that messes up the smooth face of the letter. Use a butter knife to pick up each letter by the back and gently place it on the strawberry.
Which chocolate should I use for strawberries?
There is no one best chocolate for dipping strawberries, so mix up the types of chocolate you use however you like! A few of our favorite combinations:
- Dark Chocolate Dip + Dark Chocolate Drizzle + White Chocolate Letters
- Milk Chocolate Dip + Dark Chocolate Drizzle + Milk Chocolate Letters
- White Chocolate Dip + Milk Chocolate Drizzle + Milk Chocolate Letters
- Semi-Sweet Chocolate Dip + Mint Semi-Sweet Chocolate Drizzle and Letters (stir ½ teaspoon of your favorite mint extract into the chocolate for an amazing, subtle mint flavor!)

📖 Recipe

Chocolate Strawberries with Chocolate Lettering
- Prep Time: 10 mins
- Cook Time: 20 mins
- Total Time: 30 minutes
- Yield: Makes 12 Large Chocolate Strawberries 1x
- Category: Dessert
- Cuisine: American
Description
Easy homemade chocolate strawberries with fun lettering perfect for Valentine's Day (or any day!)
Ingredients
- 1 pound fresh strawberries (about 12 large strawberries), washed and dried
- 2 cups semi-sweet chocolate chips
- 2 teaspoons coconut oil
- ½ cup milk chocolate chips
Instructions
DIP THE STRAWBERRIES:
- Line a large baking sheet with a silicone baking mat or a sheet of wax paper and set aside.
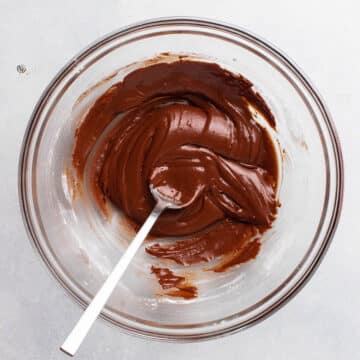
- Melt semi-sweet chocolate chips and coconut oil together over a double boiler. Stir frequently until chocolate is smooth and all chips have melted, about 10 minutes. Be careful not to burn the chocolate - melt it slowly and stir gently for best results.
- When chocolate has melted, remove it from the heat and start dipping your strawberries! Hold each strawberry by its stem and dip it into the chocolate at a slight angle, then twist it in a circle until coated. Lift the berry out of the bowl and let any excess chocolate drip off, then place chocolate covered strawberries on your lined baking sheet to set. Repeat until all strawberries have been dipped in chocolate.
- Let chocolate strawberries set on the counter while you make the chocolate letters.
MAKE THE CHOCOLATE LETTERS:
- Cover your "LOVE" printout (or print your own text!) with a piece of wax paper or slide it into a Silicone Stasher Bag. Make sure you can see the printout through your nonstick surface for easy tracing!
- Transfer the rest of your melted semi-sweet chocolate to a piping bag fitted with a small circular tip (you can use a plastic bag with a corner snipped off if you prefer).
- Use the piping bag to trace the letters on your printout with the chocolate. Don't worry if you mess up a letter or two - just move the printout around so that the printed letters are under a fresh, chocolate-free area of the nonstick surface and try it again!
- Set the piped chocolate letters aside to set on the counter. Let letters and strawberries set for about an hour, until chocolate is completely cooled. If you need to speed the cooling process, pop berries and chocolate letters in the fridge for 15-30 minutes until set.
ADD CHOCOLATE DRIZZLE:
- When chocolate strawberries and letters have cooled, it's time to assemble!
- Melt milk chocolate chips in a double boiler, stirring frequently, until smooth.
- When chocolate is melted, remove from heat and let cool 3-5 minutes or until it's cool enough to handle through a piping bag.
- Transfer melted chocolate to a piping bag fitted with a small circular tip (use a plastic bag with a corner snipped off if you prefer, or skip the piping bag and use a regular spoon to do the drizzle).
- Use piping bag to drizzle chocolate back and forth in smooth, horizontal strokes across each chocolate-covered strawberry. Repeat until all berries have drizzle, then begin attaching the letters (no need to let the drizzle cool first!)
ATTACH CHOCOLATE LETTERS:
- Use a butter knife to gently peel a chocolate letter off of its nonstick surface. Tip: If the letters are still too soft to pick up, pop them in the fridge or freezer for a few minutes to harden.
- Gently lay each chocolate letter in the center of a strawberry. The chocolate drizzle will act like glue, keeping the chocolate letter attached to the strawberry. Tip: If the chocolate drizzle has hardened too quickly and the letter won't stick, add a dot of melted chocolate to the back of your letter and place on the berry.
- Once you've adhered all the letters to strawberries, let berries set on the counter until chocolate has cooled. To speed cooling, transfer berries to the fridge for 15-30 minutes until chocolate is set. Serve immediately (recommended) or store in the fridge for 2-3 days.
Notes
For best results, make sure your strawberries are completely dry before dipping them in chocolate.
To melt chocolate in the microwave, heat in a microwave-safe bowl in 20-second intervals, stirring well between each interval.
Chocolate Combinations. We used semi sweet and milk chocolate in this recipe, but you can use any mix of chocolate you like! Use all one kind of chocolate or mix and match dark, white, milk, and semi-sweet chocolate chips (see some of our favorite combinations in the post above!)
For an extra pop of flavor in your chocolate drizzle, stir in ½ teaspoon of your favorite mint extract when you melt the chocolate.
Use butter instead of coconut oil if you like, or omit this ingredient altogether. We like adding a dash of coconut oil to our melted chocolate because it makes it a bit smoother and easier to dip, as well as softening the chocolate just slightly so the chocolate shell doesn't split into a million pieces and fall off the strawberry as soon as you take a bite. If you use a piping bag for the chocolate drizzle, there's no need for extra coconut oil when you melt that chocolate. If you'd prefer to use a spoon to do the chocolate drizzle, we recommend adding 1 teaspoon of coconut oil to make it a bit easier to drizzle.
Storing your strawberries. Chocolate strawberries are at their best when they're eaten fresh. If possible, eat them within a few hours of assembly. When refrigerated, chocolate covered strawberries can produce excess moisture or form a white, chalky layer on the chocolate. If you do find yourself with leftover strawberries, you can store them in the fridge for 2-3 days - just remember that the quicker you eat them, the better they'll taste!
Additional Decorating Ideas. Chocolate covered strawberries are a great blank canvas! If you don't have time for chocolate letters, top strawberries with crushed nuts, chopped or grated chocolate pieces, flakey sea salt, or extra chocolate drizzle in a contrasting color.
Ingredients & Equipment. We use Ghiradelli Chocolate Chips because we tend to have them on hand, but you can use a chocolate baking bar instead if you like! We use a Silpat nonstick silicone baking mat to line our sheet pans and Silicone Stasher Bags to help us trace the chocolate letters. We use reusable Wilton Piping bags fitted with a Wilton #3 tip for forming the letters and doing the drizzle.
Love this easy recipe? Don't forget to check out our full Dessert Collection!
Nutrition
- Serving Size: 1 strawberry
- Calories: 211
- Sugar: 23.7 g
- Sodium: 3.7 mg
- Fat: 12.6 g
- Carbohydrates: 28.3 g
- Protein: 2.2 g
- Cholesterol: 0 mg
Keywords: valentine's day, valentine, holiday


Jessica
These were shockingly easy to make. My grocery store was selling chocolate strawberries for like $4 a pop. It was way cheaper to do them myself and they look so fancy with the drizzle on top! You can't even tell they're homemade.
★★★★★
Team Life As A Strawberry
YIPPEE! We love a good DIY that also saves money!
Mary Frances
Adorable!
Jessie
Thanks, Mary!
Zainab
OK these are just beyond beautiful! and I am sure juicy and delicious 🙂
Jessie
Thanks, Zainab!
Queenie
You do amazing things to your food in creativity. Love it!
Jessie
Thanks, Queenie!
Kaylin@EnticingHealthyEating
This really is made for your blog, a recipe for chocolate covered strawberries. And I like the minty addition! Those letters are adorable and seem easier than they looked originally when I saw the recipe.
Jessie
Thanks, Kaylin! The letters look swanky but are totally easy! I love piping chocolate for decorations.