This easy recipe makes six cupcakes - perfect for just a few people! These homemade chocolate cupcakes are rich, moist, and ready in less than an hour with a few fridge and pantry staples (no buttermilk required!) Topped with our favorite chocolate fudge frosting.
I've fallen in love with small batch recipes lately (Exhibit A: Small Batch Crusty Bread) and these easy chocolate cupcakes are perfect if you're cooking for just a few people (or, y'know, when those dessert cravings hit on a random Tuesday).
These small batch cupcakes are a riff on our fan-favorite butterless chocolate cupcakes and chocolate sheet cake recipes. We're working with the same simple chocolate cake batter here (all from scratch!), but we've tweaked some things to dial it down for just a few servings without losing any flavor or screwing up the texture.
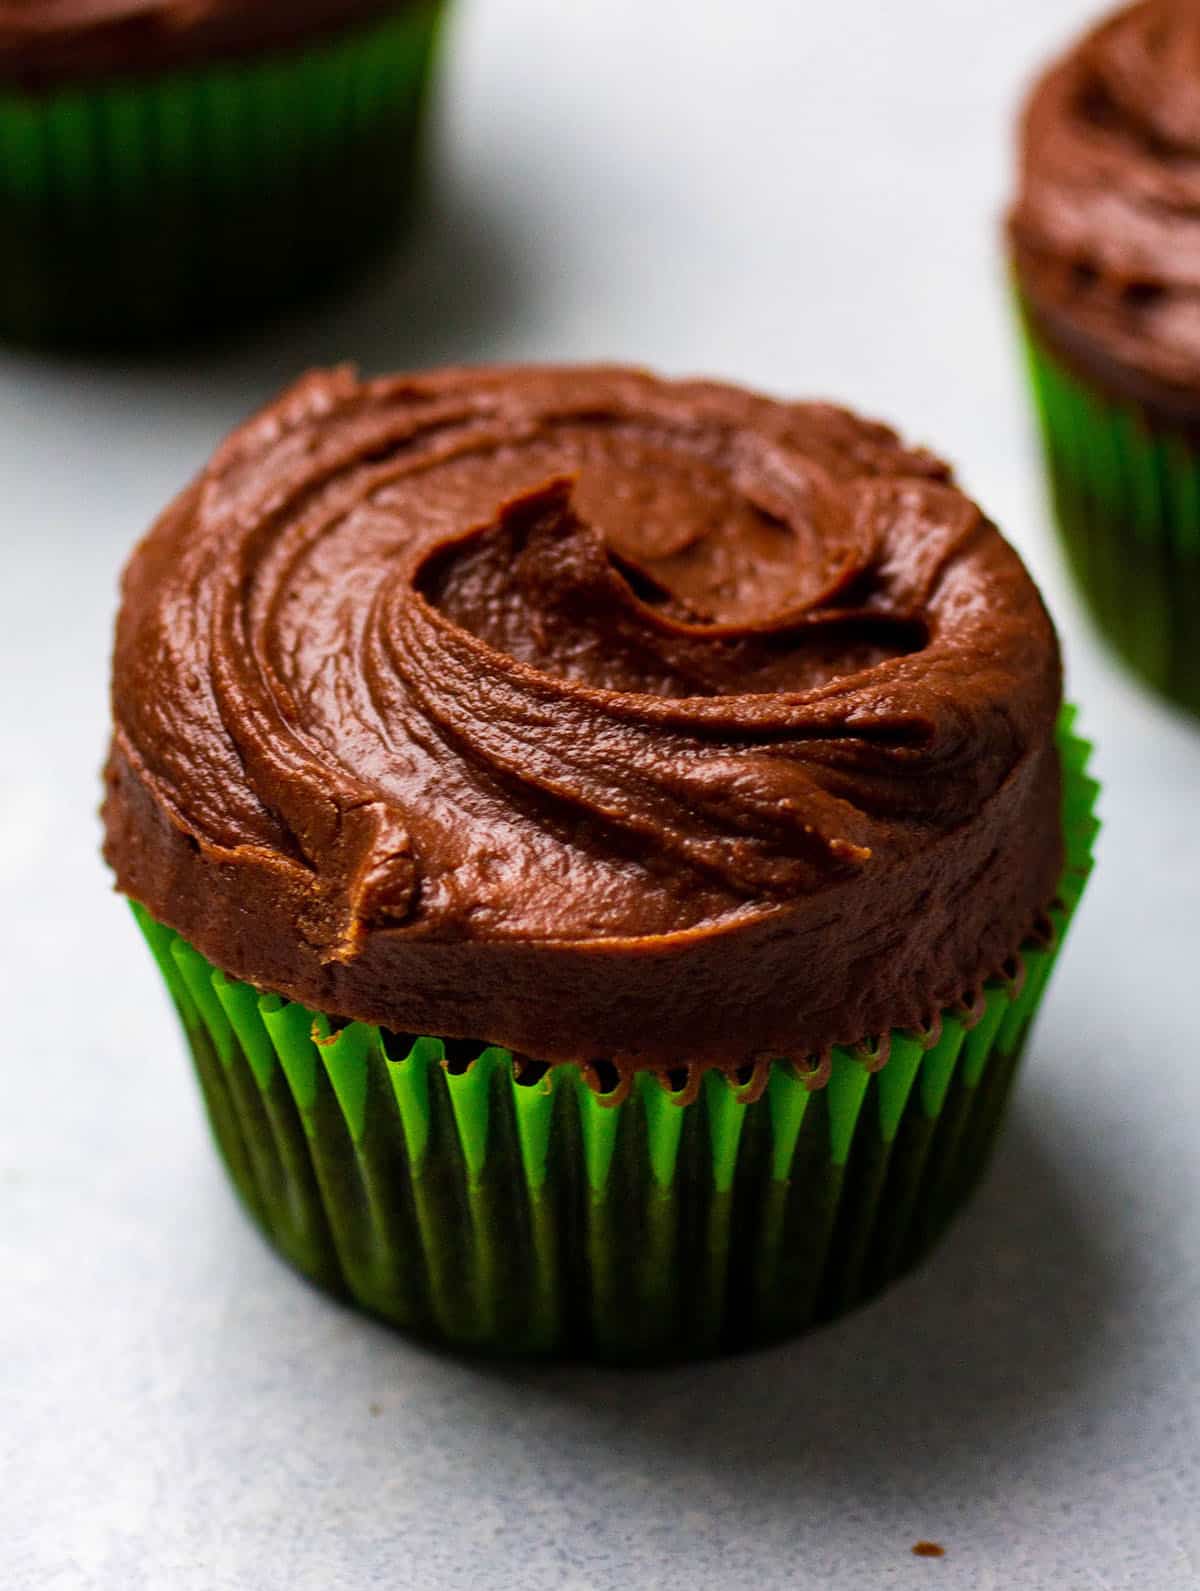
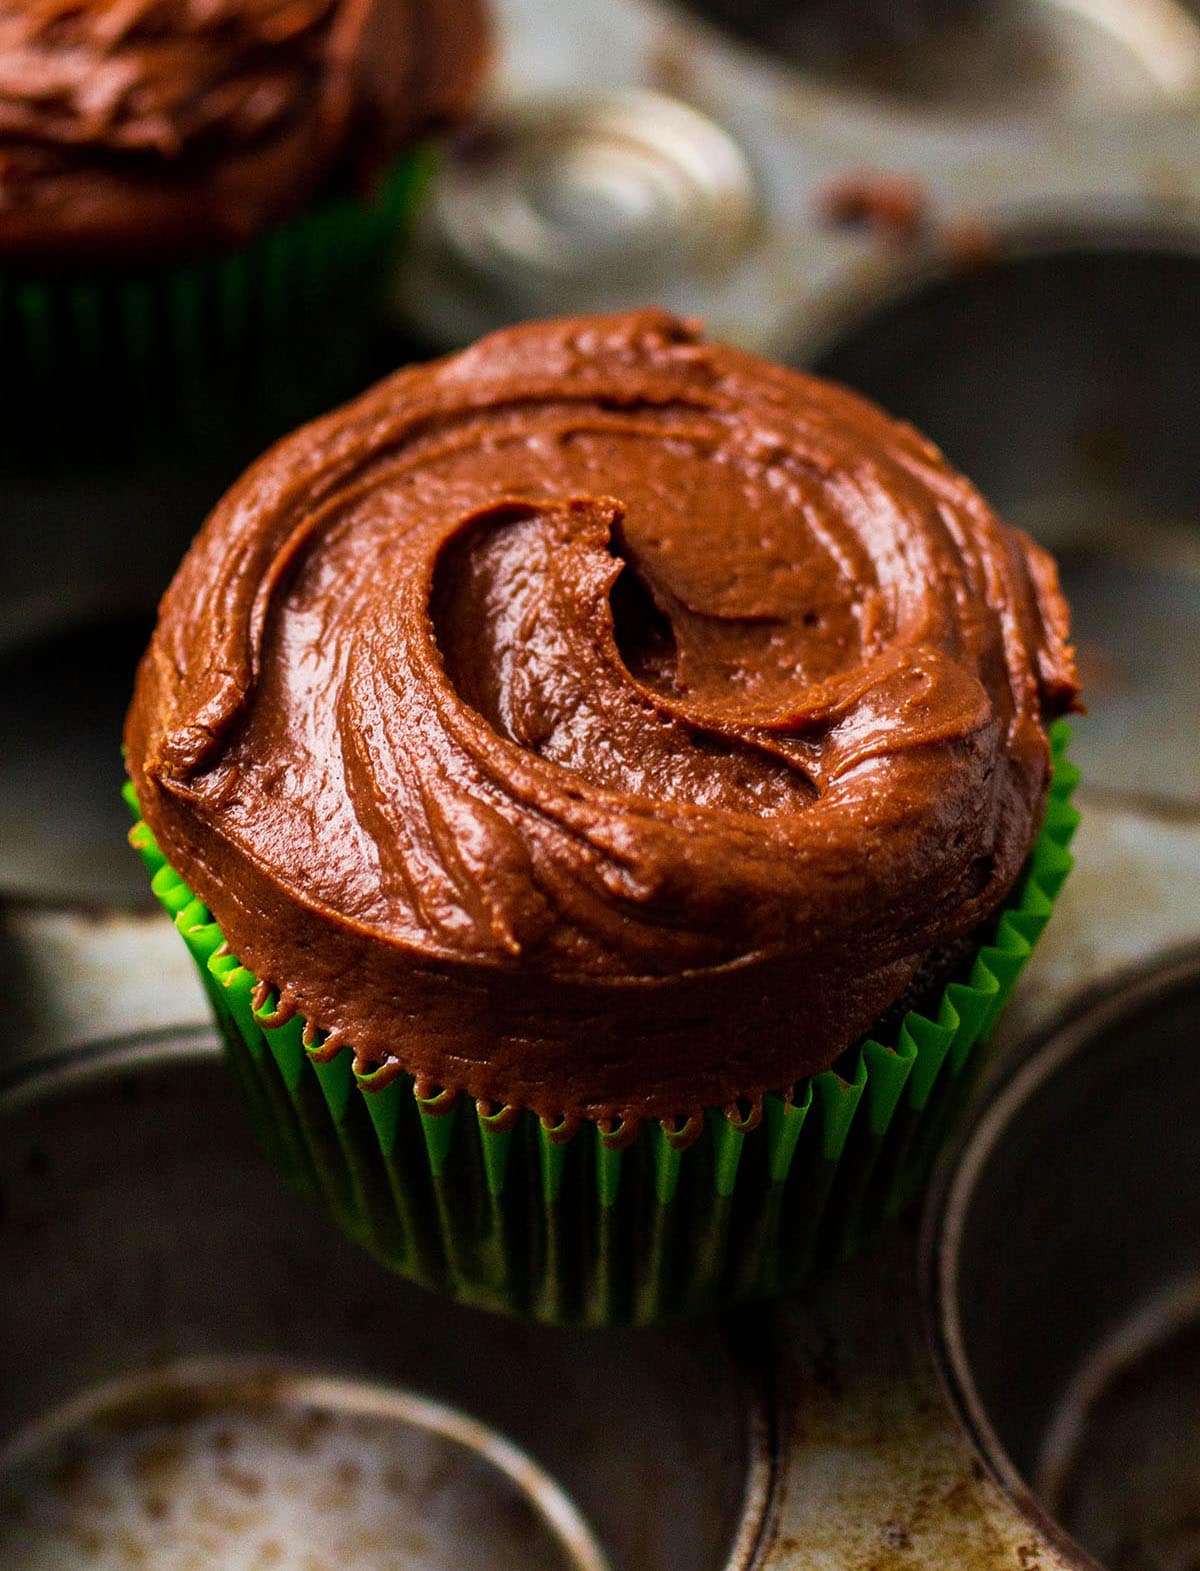
Just whisk everything together, pour the batter into a few cupcake liners, and bake. When the cupcakes are done, mix the fudge frosting and use a spoon to swirl it over the top for a simple, rustic look.
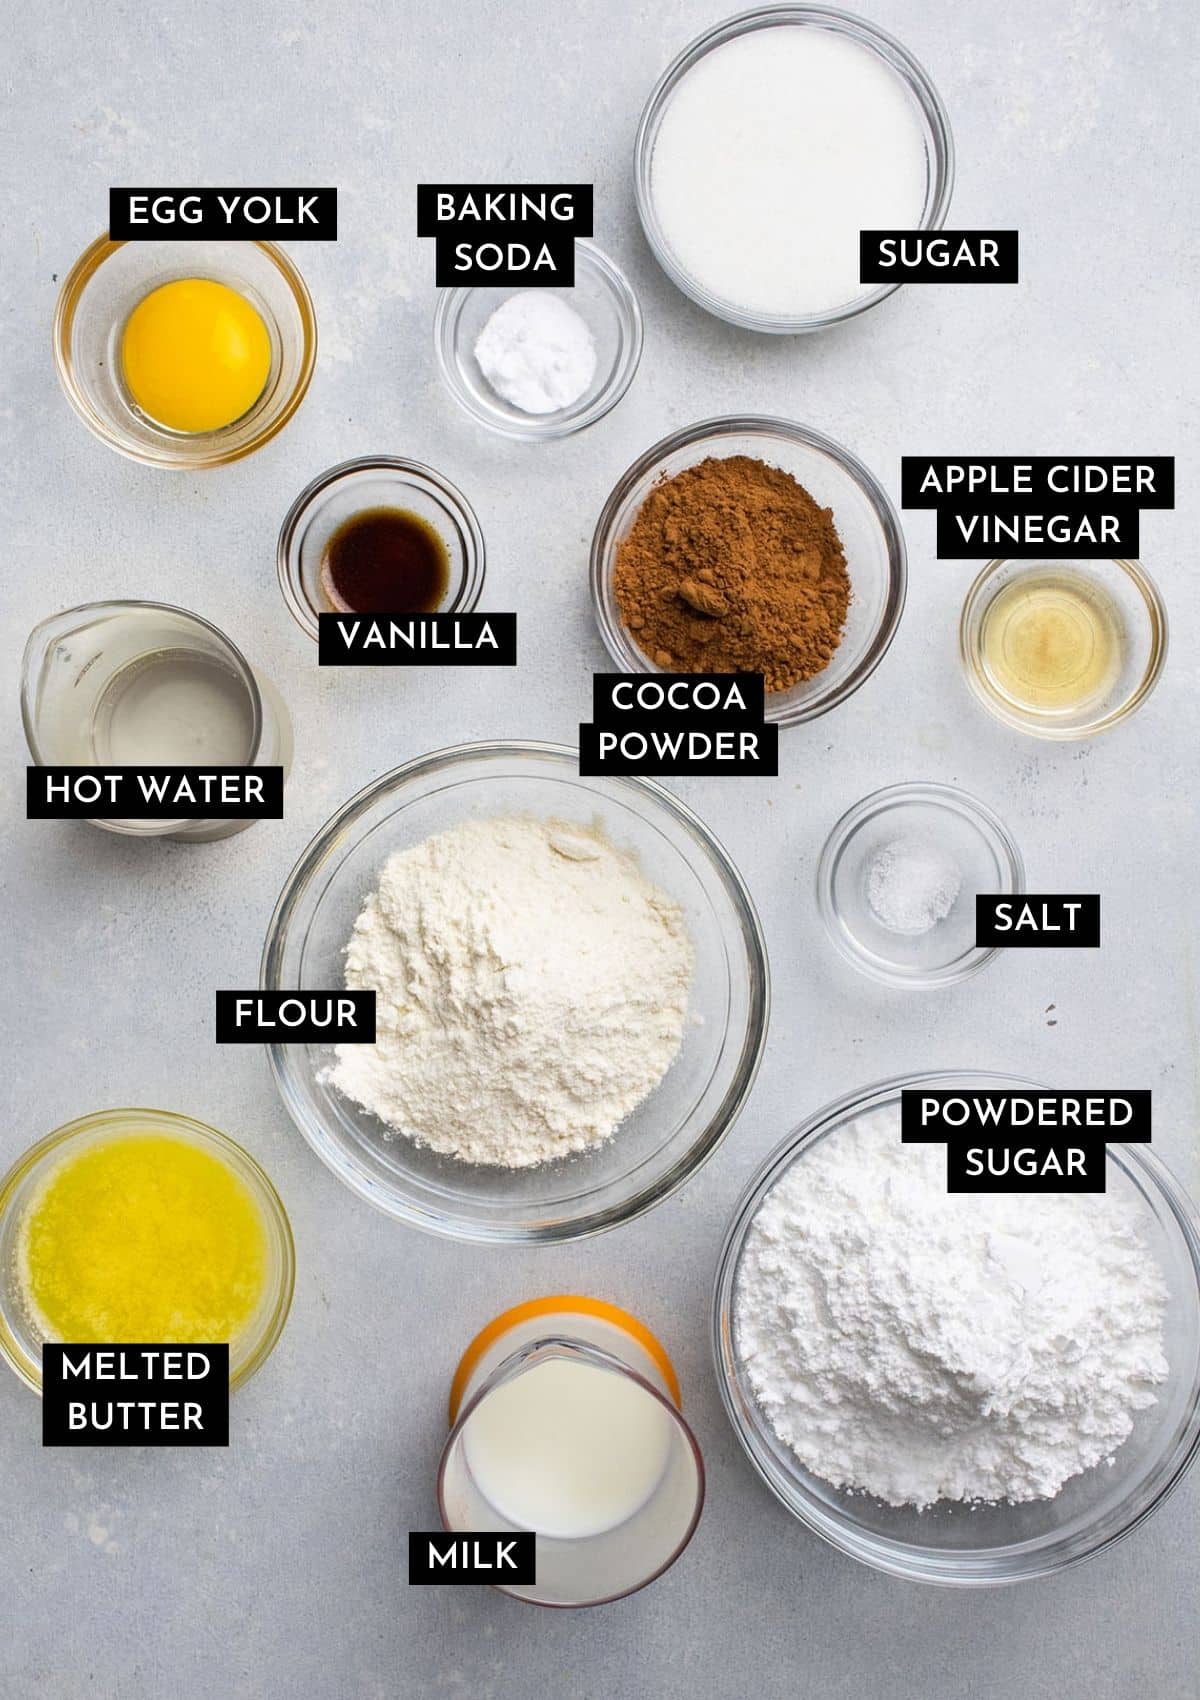
A few notes on ingredients
Use the good stuff
Use high quality unsweetened cocoa (we love cocoa powders from King Arthur Baking and Ghiradelli - grab a dutch process cocoa for even more flavor!) and good vanilla extract (Nielsen Massey vanillas are hands down the best we've tried) if you can. We've tested hundreds of chocolate cake recipes: These two ingredients consistently make the biggest difference in flavor. (See these differences in action in our cupcake baking tips post!)
Pro tip: Use a kitchen scale (Seriously!)
Measuring ingredients by volume (with cups) is notoriously unreliable; we always recommend following our weight (grams) measurements to be as accurate as possible. If you don't have a kitchen scale, measure your dry ingredients (especially flour, which is the most finicky) with the scoop-and-level method for best results.
Why the hot water?
We stir hot (nearly boiling!) water into the batter at the very end of mixing to "bloom" the cocoa and start the cooking process. That just means we're 1) amplifying the chocolate to give it richer, deeper flavor and 2) ensuring the cupcakes stay super-duper moist as they bake.
I typically heat the water in my electric tea kettle, but you can boil it in a pan or kettle on the stovetop if you like. You can also substitute hot coffee for the hot water!
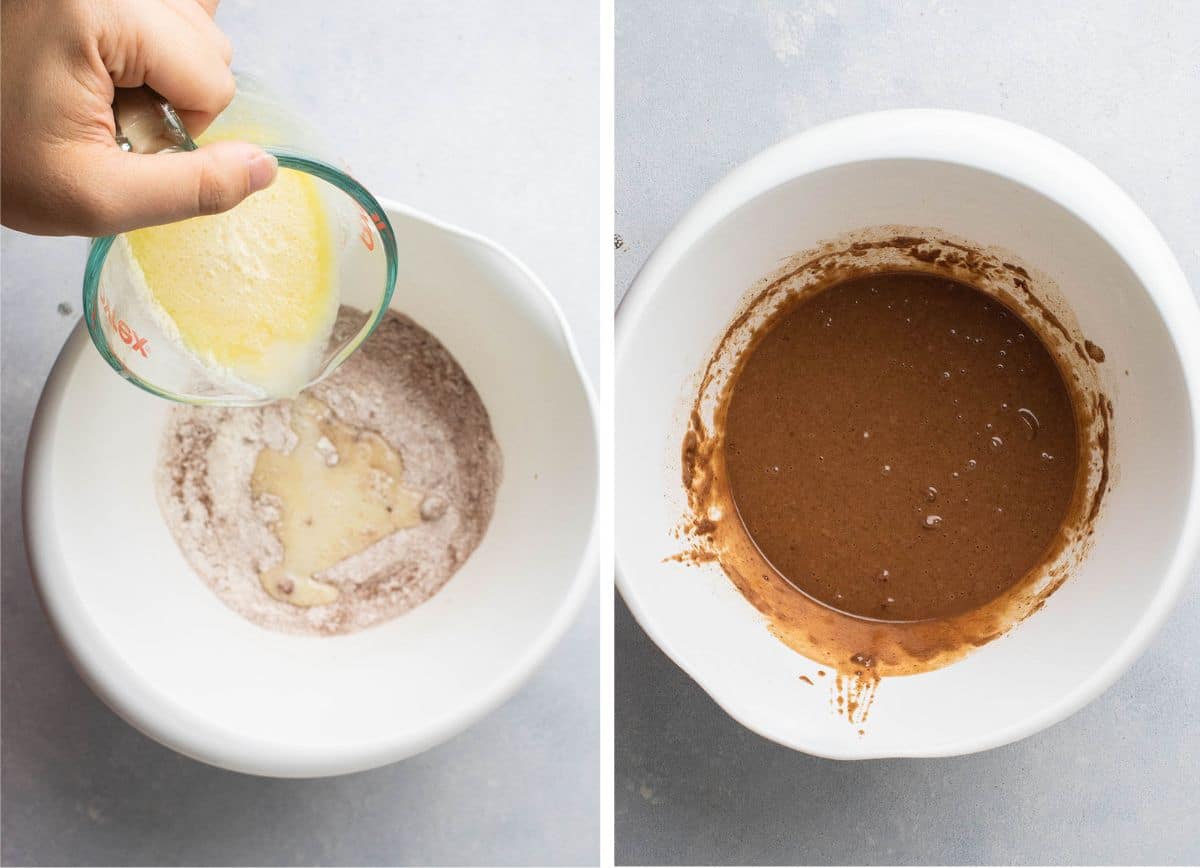
Our basic order of operations
These cupcakes come together very quickly! Here's the ;TLDR version:
- Heat the oven before you start mixing!
- Stir dry ingredients together in a large mixing bowl.
- Whisk wet ingredients together (except for the hot water) in a separate bowl or measuring cup.
- Pour wet ingredients into dry ingredients and whisk until they're barely combined, then slowly whisk in the hot water until you have a smooth batter.
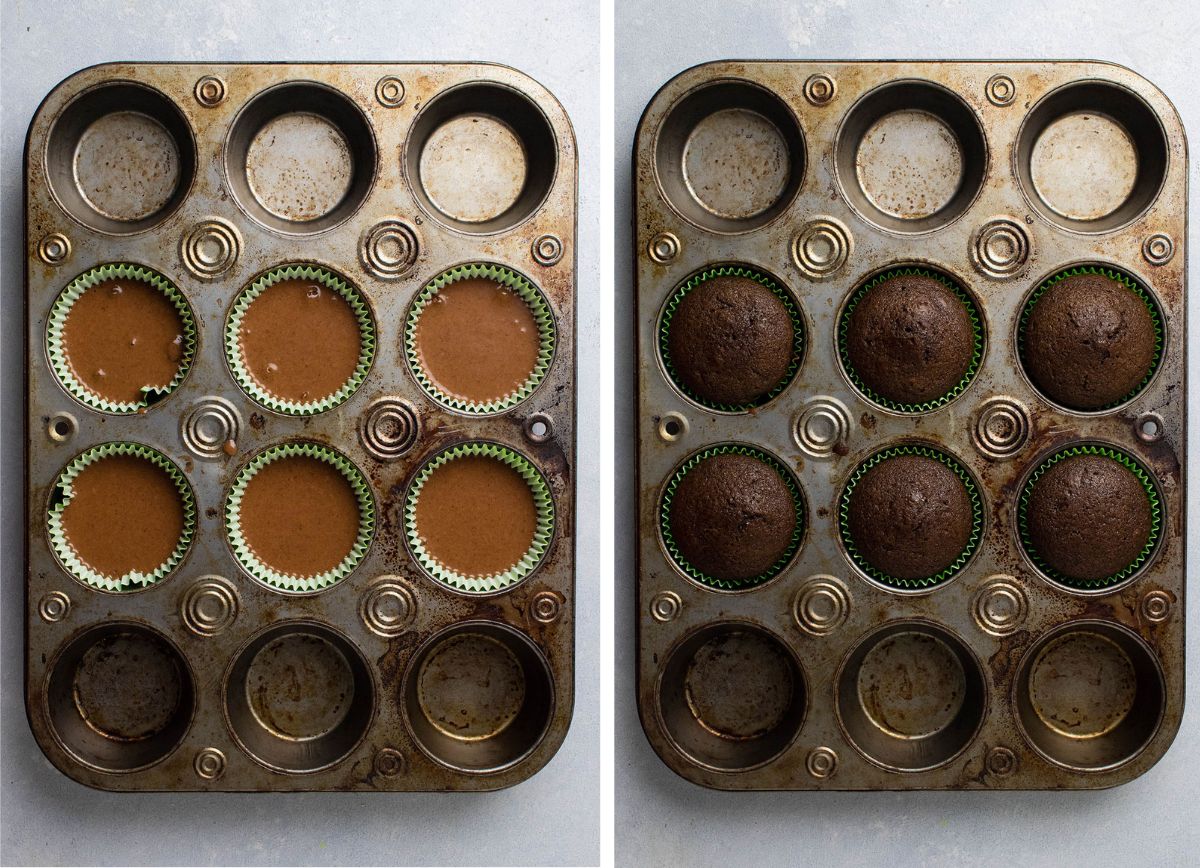
- Pour cupcake batter into a prepared muffin pan and bake! Tip: For best results, fill each cupcake liner ⅔ of the way full.
- Let cupcakes cool completely on a wire cooling rack, then make the frosting.
- Spoon frosting over the top of each cupcake and use the back of the spoon or an offset spatula to swirl it into shape. Do this while the frosting is still slightly warm: as it cools, it will get harder to work with. (If you'd like to top your cupcakes with sprinkles, do it immediately while the frosting is still soft!)
Let's talk about this fudge frosting
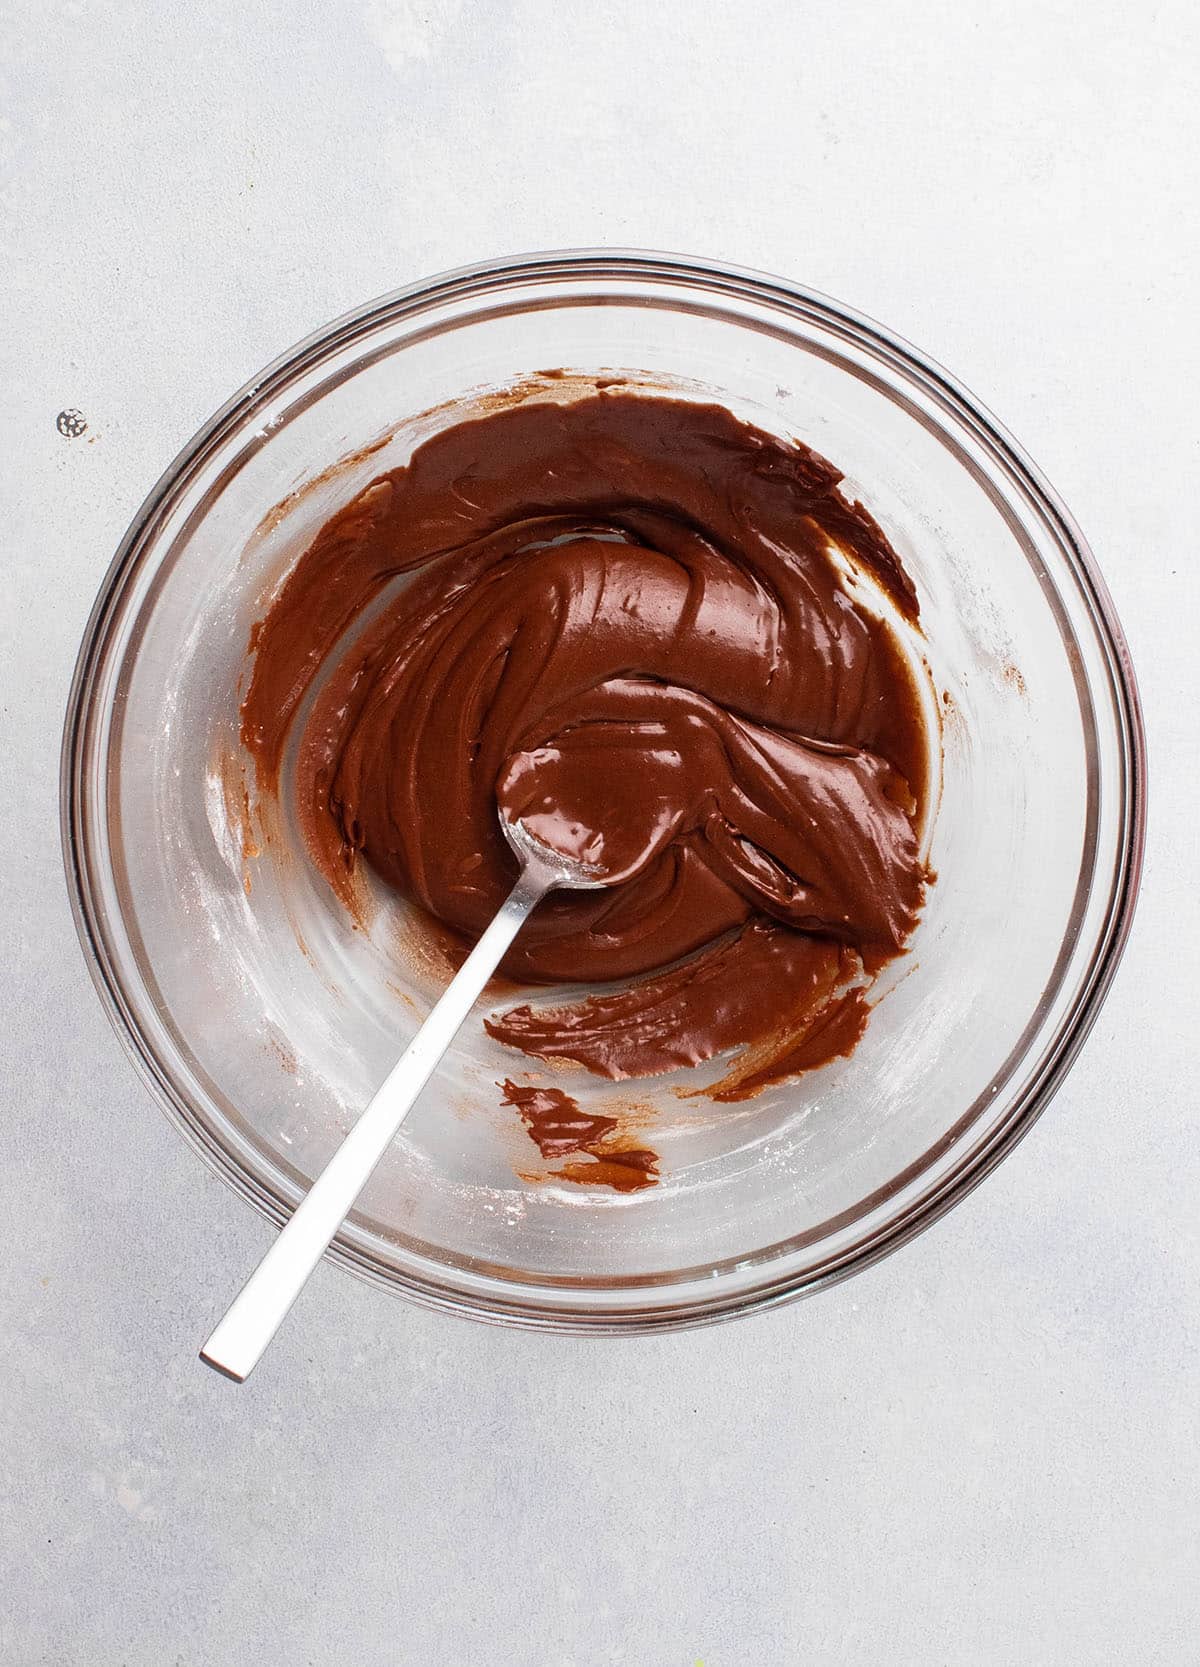
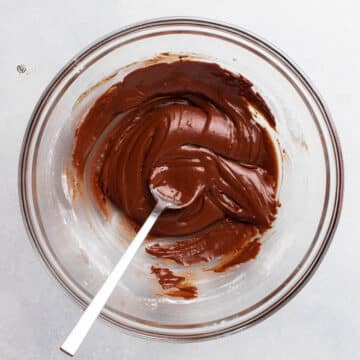
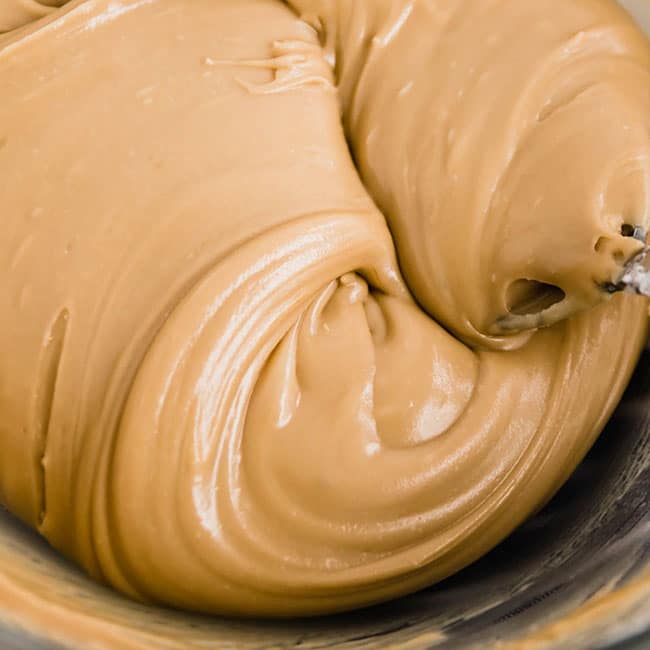
Our fan-favorite chocolate fudge frosting is the best way to top chocolate cakes and cupcakes (and we scaled the original recipe down to perfectly fit these cupcakes!) As the frosting cools to room temperature, the melted butter starts to solidify a bit, which gives it a rich, fudge-y texture (like a thick chocolate ganache).
Start by stirring a bit of melted butter into some powdered sugar and cocoa powder with a pinch of salt. The butter will clump up and look a bit crumbly - that's ok!
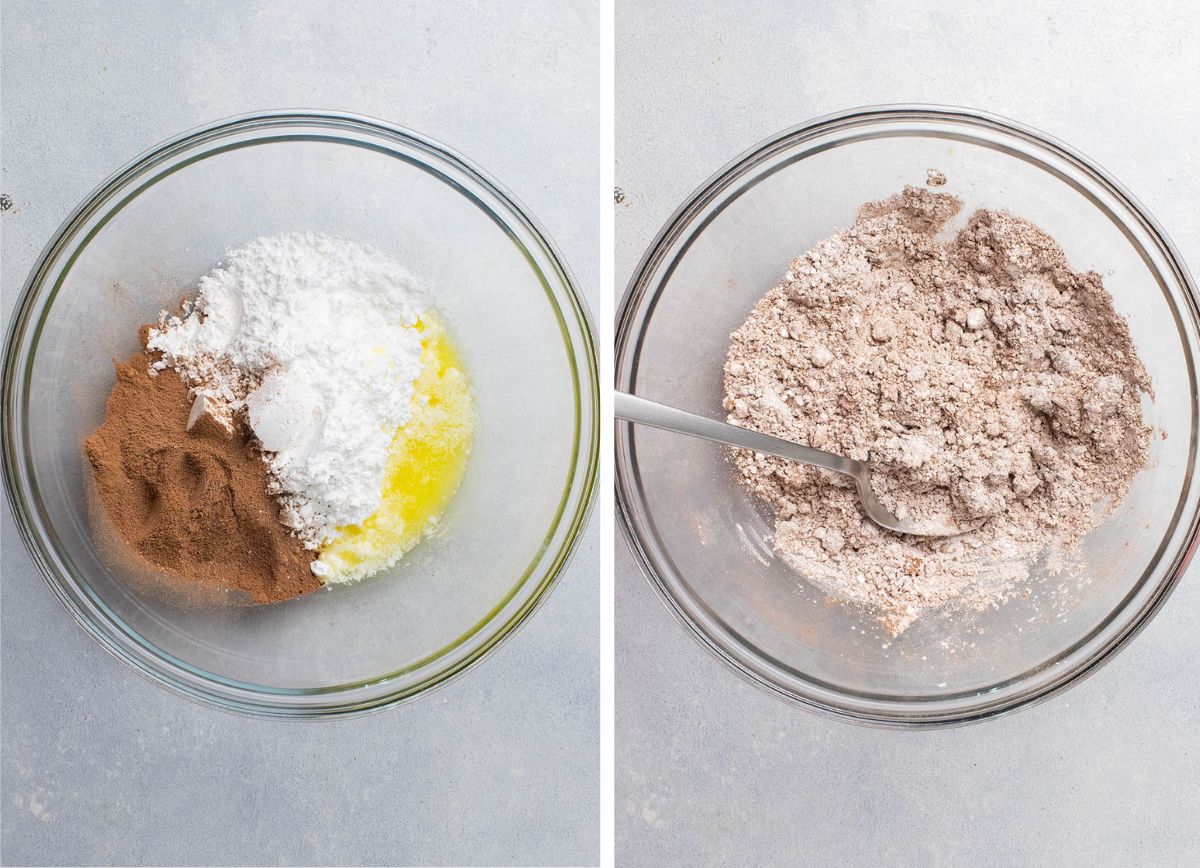
To bring the frosting together, add some very hot water a tiny bit at a time and stir until you have a smooth, glossy mixture.
Because this frosting starts to seize up as it cools, it's important to work quickly when frosting these cupcakes. It can take a bit of practice, but we promise the results are worth it!
Riffs and Substitutions
- Swap the melted butter for melted coconut oil, olive oil, or vegetable/canola oil.
- Mix up the frosting. A classic chocolate or vanilla buttercream, cream cheese frosting, or peanut butter frosting are all great here.
- Use an egg white in place of the egg yolk if you prefer. In our testing, these cupcakes weren't quite as light and moist with an egg white (we preferred the texture with an egg yolk), but it's a very small difference - they'll still taste great!
- Use hot coffee instead of the hot water.
- Replace half of the granulated sugar with light brown sugar if you like. This gives a tiny bit more depth and moisture to the cupcakes (although you can't taste a huge difference - this is really more of a swap for when you're almost out of regular sugar and need a backup plan).
How many cupcakes does this recipe make?
As written, this recipe makes:
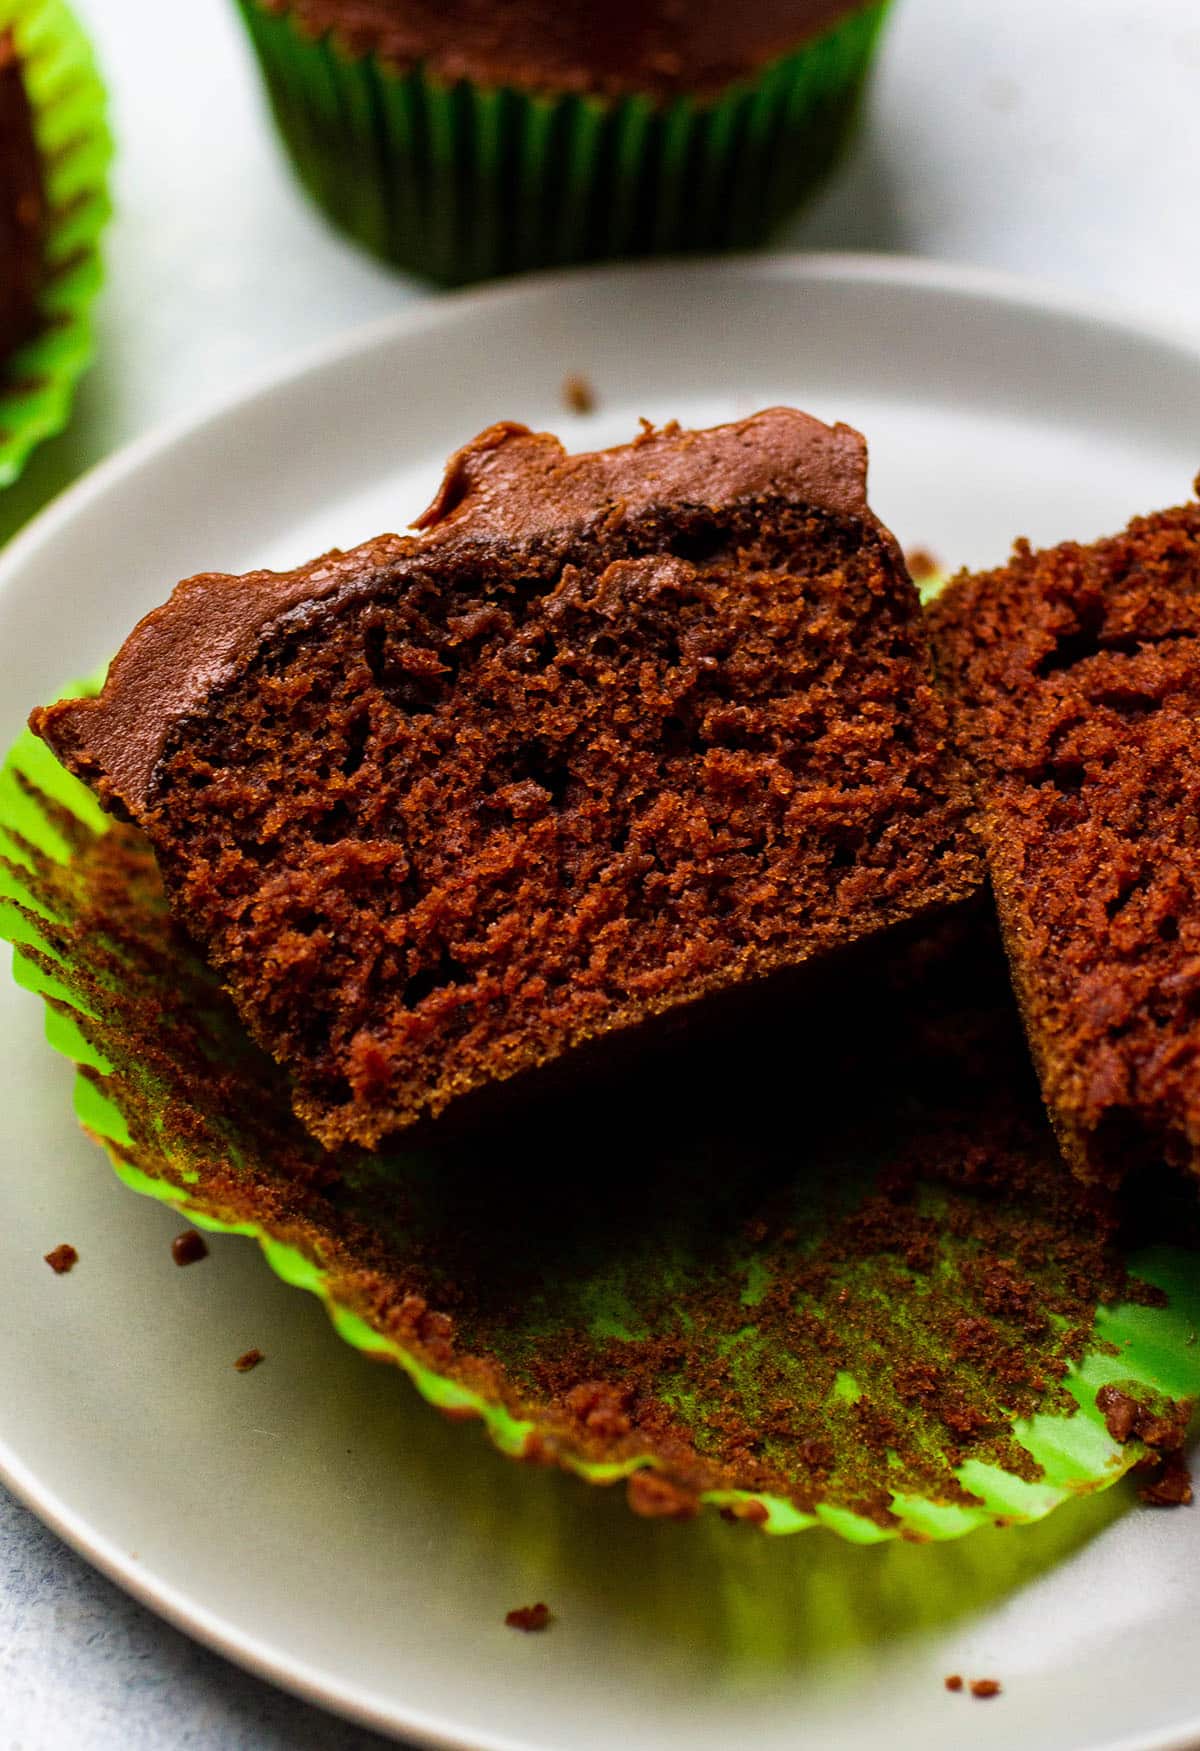
- 6-8 standard size cupcakes (pictured here!)
- 15-20 mini cupcakes
- One 8-inch cake layer
Because this recipe was specifically developed to make a small number of cupcakes, it doesn't scale especially well. If you'd like to make more than six cupcakes, we recommend following one of our full-batch cake or chocolate cupcake recipes:
- Chocolate Sheet Cake (Makes 20 3-inch square slices)
- Coconut Oil Chocolate Cupcakes (Makes 16-20 cupcakes)
- Salted Chocolate Stout Cupcakes (Makes 28-30 cupcakes)
A few FAQs
Cupcakes will last up to 5 days in an airtight container on the counter, but they're best eaten within a day or two of baking (after that, the cake will start to dry out and the frosting will start to soften and melt into the cake).
Yes - cupcakes (and cake in general) freeze very well! To freeze, let cupcakes cool completely, then transfer to an airtight container (we like Stasher Bags) and freeze for up to 3 months. You can freeze these cupcakes with or without the frosting. To defrost, place frozen cupcakes on the counter and let them come back to room temp for a few hours. See more cake freezing tips in our post on how to freeze cupcakes. We do not recommend refrigerating extra cupcakes, as the dry air inside the fridge will dry them out pretty quickly. If you need to store them longer than a few days, pop them in the freezer!
No - the apple cider vinegar is very important here because it serves as the acid to activate our baking soda and make the cupcakes rise! If you don't have apple cider vinegar, you can substitute plain white vinegar or lemon juice.
We recommend mixing these small batch chocolate cupcakes by hand in a mixing bowl - because there is so little batter, we've found that stand mixers just don't do a great job of mixing everything in this recipe. If you don't want to mix by hand with a spoon or spatula, you can use an electric hand mixer.
More Small Batch Baking Recipes
Did you make this recipe? Leave a comment and star rating below to let us know how it turned out!
Print📖 Recipe
Small Batch Chocolate Cupcakes
- Prep Time: 20 minutes
- Cook Time: 15 minutes
- Total Time: 35 minutes
- Yield: 6-8 cupcakes 1x
- Category: Cupcakes
- Cuisine: American
- Diet: Vegetarian
Description
These easy small batch chocolate cupcakes are ready in under an hour!
Ingredients
For the cupcakes:
- 80 grams all purpose flour (about ⅔ cup when measured correctly by scooping and leveling)
- 15 grams unsweetened cocoa powder (3 Tablespoons )
- 70 grams sugar (⅓ cup)
- 3 grams baking soda (½ teaspoon)
- Pinch of kosher salt
- 3 Tablespoons unsalted butter, melted (43 grams)
- 5 grams apple cider vinegar (1 teaspoon)
- 60 grams milk (¼ cup)
- 4 grams vanilla extract (½ teaspoon)
- 1 egg yolk
- 60 grams hot water (¼ cup) (see recipe notes)
For the chocolate frosting:
- 170 grams powdered sugar (1 ¼ cups)
- 15 grams unsweetened cocoa powder (3 Tablespoons)
- 2 Tablespoons unsalted butter, melted (27 grams)
- Pinch of kosher salt
- 30 grams hot water (2 Tablespoons) (you may not need it all)
Instructions
Before you mix the batter (a bit of prep):
- Heat the oven to 375° Fahrenheit.
- Put some water on to boil - you'll need a bit of hot water at the very end of mixing, and again for the frosting (I use an electric tea kettle set to the highest setting).
- Line a standard muffin pan with 6-8 cupcake liners.
For the cupcakes:
- In a medium mixing bowl, whisk together flour, cocoa, sugar, baking soda, and a pinch of salt.
- In another small mixing bowl or measuring cup, whisk together melted butter, apple cider vinegar, milk, vanilla extract, and egg yolk.
- Pour wet ingredients into dry ingredients and stir until just combined.
- Whisk hot water into batter a little at a time until you have a smooth, thin batter.
- Pour or scoop the cupcake batter into your prepared muffin pan, filling each cupcake liner about ⅔ of the way full. You should get 6-8 cupcakes.
- Bake at 375° F for 14-18 minutes, until a cake tester or toothpick inserted into the center of a cupcake comes out clean.
- Remove cooked cupcakes to a wire rack and let them cool completely before frosting, usually at least 30 minutes.
For the chocolate frosting:
- In a medium mixing bowl, mix powdered sugar, cocoa powder, and melted butter together with a pinch of salt. The butter will clump up a bit and form a crumbly mixture - that's ok!
- Add hot water to powdered sugar mixture a little bit at a time, stirring well between each addition. The frosting will slowly start to come together, and will look almost like a thick pudding or fudge.
- When you’ve reached your desired frosting consistency, use the back of a spoon or a small knife to frost each cupcake. I like to place a dollop of frosting on the cupcake and then use the back of a spoon to swirl it in a circle.
Tips: If the frosting is too runny to hold its shape at first, let it sit for a few minutes until it starts to firm up. This frosting will seize up as the butter cools, so plan to work quickly. If the frosting becomes too hard to spread easily, zap it for five seconds in the microwave to bring it back to a spreadable consistency. - You can serve these cupcakes immediately once they're frosted, although if you have time, we recommend letting them sit for an hour or so on the counter so the frosting cools completely - as it sets, it becomes thicker and more fudge-y. Enjoy!
Notes
How hot should my water be? The hot water in this cake batter should be not quite boiling (175° F or so - about the temperature you’d use for making tea). You can bring water to a boil in a pan or kettle on the stovetop while you prepare the rest of your ingredients, or use an electric tea kettle to heat the water. If you don’t have the time or equipment to heat water this way, you can use water straight from the tap on its hottest setting - it won’t draw out quite as much chocolate flavor, but it will still work! The hot water in this recipe ensures our ingredients are mixed evenly, enhances the chocolate flavor of these cupcakes, and helps the cupcakes retain moisture as they bake.
Please use a kitchen scale! Measuring ingredients by volume (with cups) is notoriously unreliable: For best results, use a kitchen scale and measure your ingredients by weight using the gram measurements above. If you don’t have a scale, measure your ingredients (particularly flour and cocoa) with the scoop-and-level method for best results.
Additions and Substitutions. Substitute melted coconut oil, olive oil, vegetable oil, or canola oil for the melted butter in the cupcake batter. You can also substitute melted coconut oil for the butter in the frosting if you like. Use white vinegar (preferred) or lemon juice in place of apple cider vinegar if you need to. If you’re running low on white sugar, you can replace up to 45 grams of white sugar with brown sugar. Use an egg white instead of an egg yolk if you prefer (the cupcakes won’t be quite as rich or moist as they are with an egg yolk, but they’ll still taste great!) Substitute your favorite frosting for the chocolate fudge frosting here - this recipe is great with chocolate or vanilla buttercream, peanut butter frosting, and cream cheese frosting!
The chocolate fudge frosting in this recipe will start to seize up as the butter cools, so work quickly to frost your cupcakes. The frosting will be quite thick and will resemble warm fudge - it won’t look or feel like the traditional buttercream or whipped frostings we’re often used to. If the frosting is too thin (this often happens when too much hot water is added) add extra powdered sugar or let it cool on the counter for a few minutes to thicken it up. If frosting is too thick, zap it in the microwave in 5-second intervals to loosen it. I love that this frosting develops a rich, fudge-like texture as it cools (it’s one of my most-requested frostings from friends and family!) but you could also absolutely use a more traditional buttercream here if you prefer.
If you use reusable silicone cupcake liners, you may need to extend the bake time by 1-3 minutes, and the cupcakes may not be quite as soft as they are with paper liners (but they’ll still taste good!)
Storing and freezing. Extra cupcakes will last up to 5 days in an airtight container on the counter, although the texture is best if eaten within 1-2 days of baking. Freeze leftover cupcakes in an airtight container in the freezer for up to 3 months; defrost frozen cupcakes on the counter when you’re ready to eat them.
Nutrition
- Serving Size: 1 cupcake
- Calories: 314
- Sugar: 40.1 g
- Sodium: 197.9 mg
- Fat: 11.1 g
- Carbohydrates: 53.7 g
- Protein: 3.2 g
- Cholesterol: 56.4 mg
Keywords: dessert, cake, birthday, small batch




Anna Accorsi
How long would you suggest baking mini cupcakes instead of regular cupcakes?
Team Life As A Strawberry
The timing will depend on your kitchen and equipment, but we would recommend starting to check your mini cupcakes for doneness at around 10 minutes. When fully cooked a cake tester or toothpick inserted into the center of a cupcake will come out clean.
Jessie
Just made these again this weekend and DANG I forgot how good they are. I've also made this recipe as a single 6-inch cake layer and it works great!
★★★★★
Dev
Holy cow this frosting is to die for. 10/10 would recommend
★★★★★
Team Life As A Strawberry
Thanks SO much!