This homemade turkey stock is one of our favorite ways to repurpose Thanksgiving leftovers! This easy stock is perfect for soups, sauces, and more. Ready in just a few hours and freezer friendly.
'Tis the season for homemade turkey stock! This easy technique helps you get as much flavor and usefulness as possible out of your leftover Thanksgiving turkey (it also makes your house smell freaking amazing).
Making your own stock also lets you control the flavor - and, most importantly, the salt content - of your stock. Use this rich, flavorful elixir anywhere you would use chicken broth: It's great in soups, stews, pastas, sauces, and beyond! (PS - Don't forget to check out our full Thanksgiving leftovers recipe collection!)
Note: This recipe focuses on using the leftovers after Thanksgiving. If you want to make turkey stock before the holiday (so you can use it in recipes like gravy or pumpernickel stuffing), you can roast a few turkey legs and wings on their own (check out our roasted turkey breast recipe for some guidance on roasting small cuts of turkey!) Pick off any meat you'd like to use or save, and proceed normally with the bones and drippings.
Jump to:
Ingredients
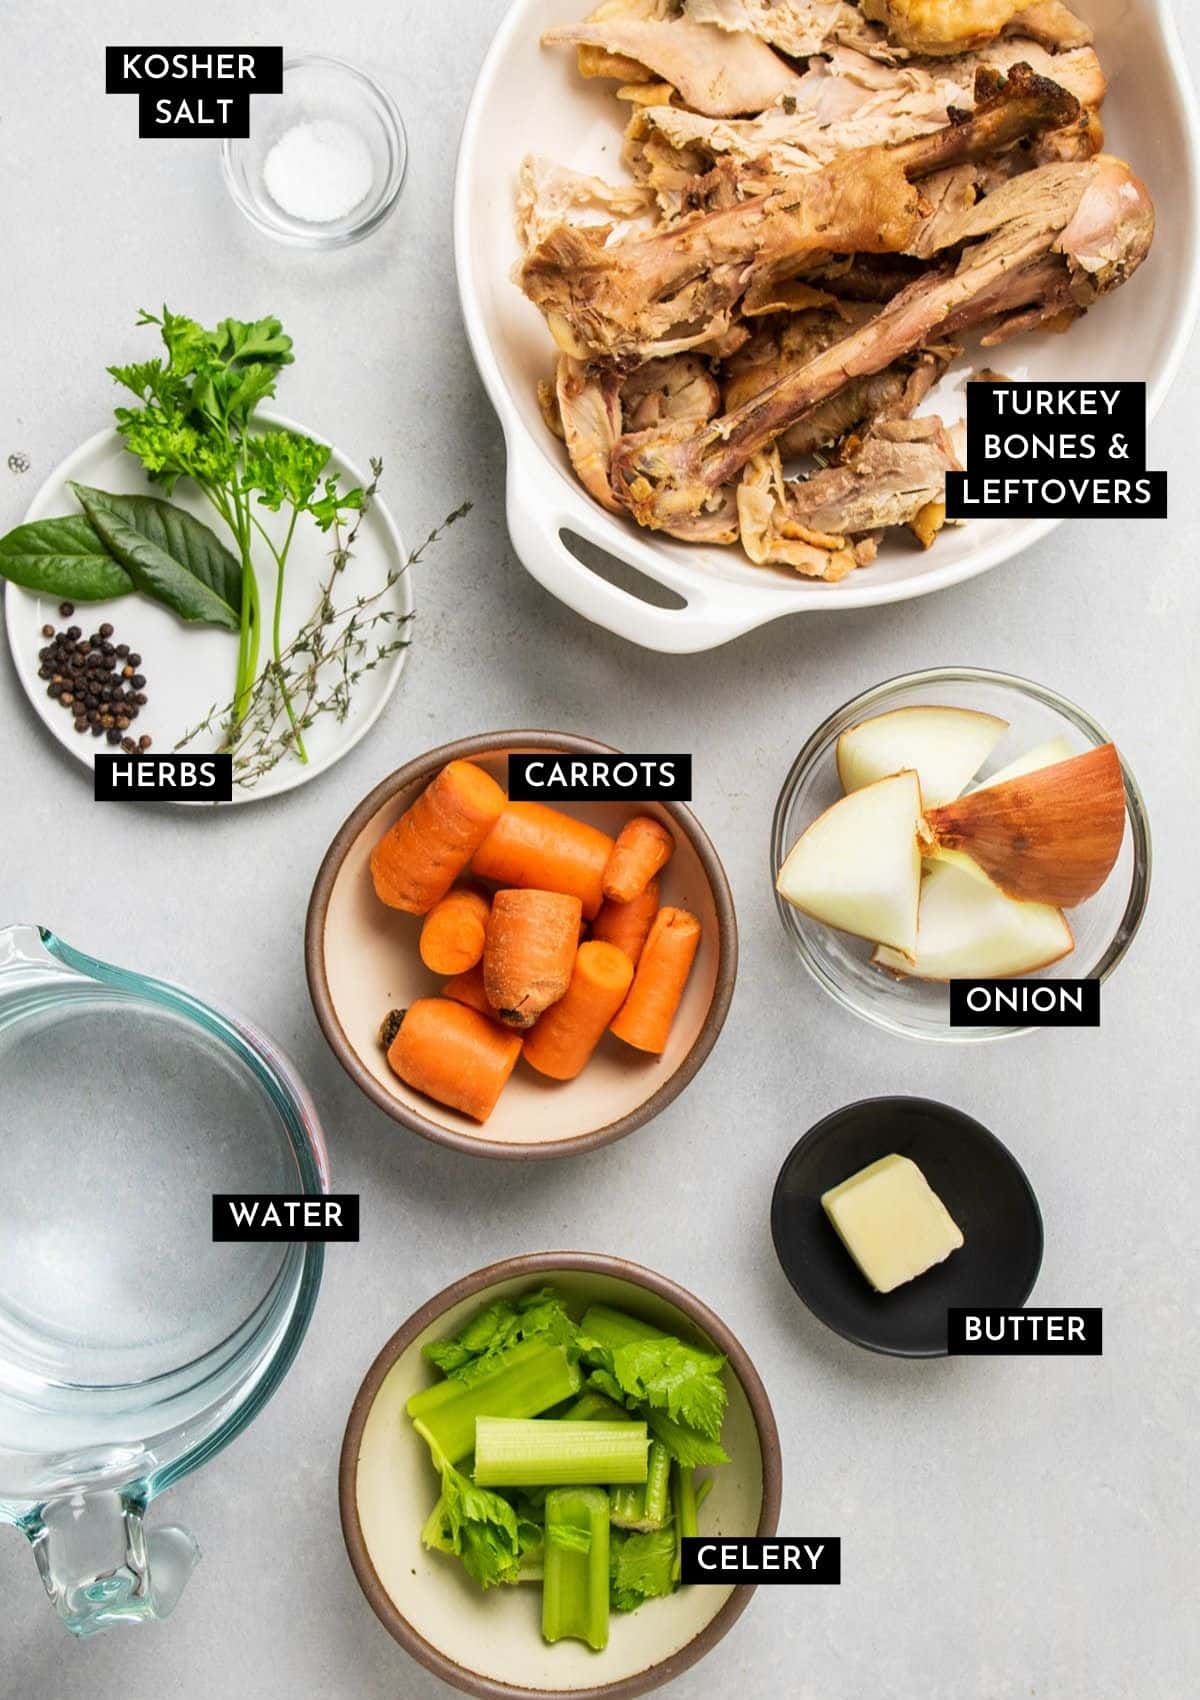
Scroll to the recipe card below for a full ingredients list with exact quantities.
Homemade stock is simple and very forgiving: It's the kind of thing that you can make a little bit differently every time. That said, we find it's useful to start with a solid base recipe and a few key ingredients.
- Turkey bones are the MVP here! In these photos, we used the bones and drippings leftover from a herb roasted turkey breast, plus two roasted turkey legs. Any cut or remnants of cooked turkey will work! For a full pot of stock, aim for about 1 ½ pounds of turkey bones and pieces. If you cooked an especially large turkey, you can split the bones into 2 or even 3 batches of turkey stock.
- Carrots and Celery give this stock a deep, umami-forward flavor. No need to peel the carrots or remove the celery leaves - just throw it all in the pot!
- Onion brings balance to this recipe, and its papery skin gives us a rich color.
- Fresh herbs round out the flavors here: We used thyme, fresh bay leaves, and parsley, but you can use rosemary, sage, or chives for a different flavor twist.
- Black peppercorns lend some depth to this stock. If you don't have any on hand, just leave them out!
- A small pinch of kosher salt helps the flavors pop. Keep the salt pretty minimal: Remember that the stock's flavor will intensify as it cooks down, and you'll likely add more salt whenever you stir this stock into a soup or sauce, so you don't need much!
Note: There's plenty of flavor to be extracted from the papery skins of onions! Peel off the very outermost layer of the skin (especially if it's dirty!) but leave the rest of the skins intact when you make any broth or stock.
Variations and Substitutions
Turkey drippings and plenty of water are the building blocks of this stock, but you have a TON of flexibility when it comes to the other ingredients! We call these extras our "flavor enhancers" (you might remember this technique from our parmesan broth!)
We recommend using 4-6 flavor enhancers any time you make turkey stock. We've included a few of our favorite additions in this recipe (carrots, onion, celery, herbs), but this broth also works well with:
- Shallot
- Garlic
- Mushrooms
- White wine
- Leeks (This is a perfect place to use any tough, dark leek greens left over from cutting and cleaning leeks for our Leek Breakfast Hash, Potato Leek Soup, or Leek Frittata!)
- For more umami: Add mushrooms, extra celery or carrots, or seaweed flakes.
- For more spice: Add red pepper flakes, or stir in a few jalapeño or poblano pepper slices.
Pro Tip: You don't need to use perfect, whole ingredients for homemade stock. When you have leftover bits from chopping, peeling, and prepping veggies, throw those trimmings in an airtight container and keep them in the freezer. When you're ready to make stock, throw those veggie scraps in along with the turkey and pan drippings. And remember: The best turkey stock is the one that works the best for you!
Step by Step Instructions
Sauté the Veggies

Heat a bit of butter in a large stock pot over medium-high heat, then add your veggies (Image 1, above) and cook for a few minutes until they begin to brown (Image 2).
Pro Tip: Try to get a good, dark sear on the surface of these ingredients! Browning the veggies develops a ton of flavor and makes our stock richer and more interesting. But if you're short on time, you can skip this step! You'll lose a little bit of the depth of flavor you get from browning everything up, but the stock will still taste great.
Build the Stock

When you have a nice sear on the veggies, add the turkey bones and your extra flavor enhancers (we used parsley, thyme, bay leaves, and black peppercorns), along with a very small pinch of kosher salt (Image 3, above). Fill the pot with cool water (4) and stir everything together.
Pro Tip: Be sure to scrape up any browned bits at the bottom of the pan as you add the water - that's where a ton of flavor lives!
Simmer the Stock
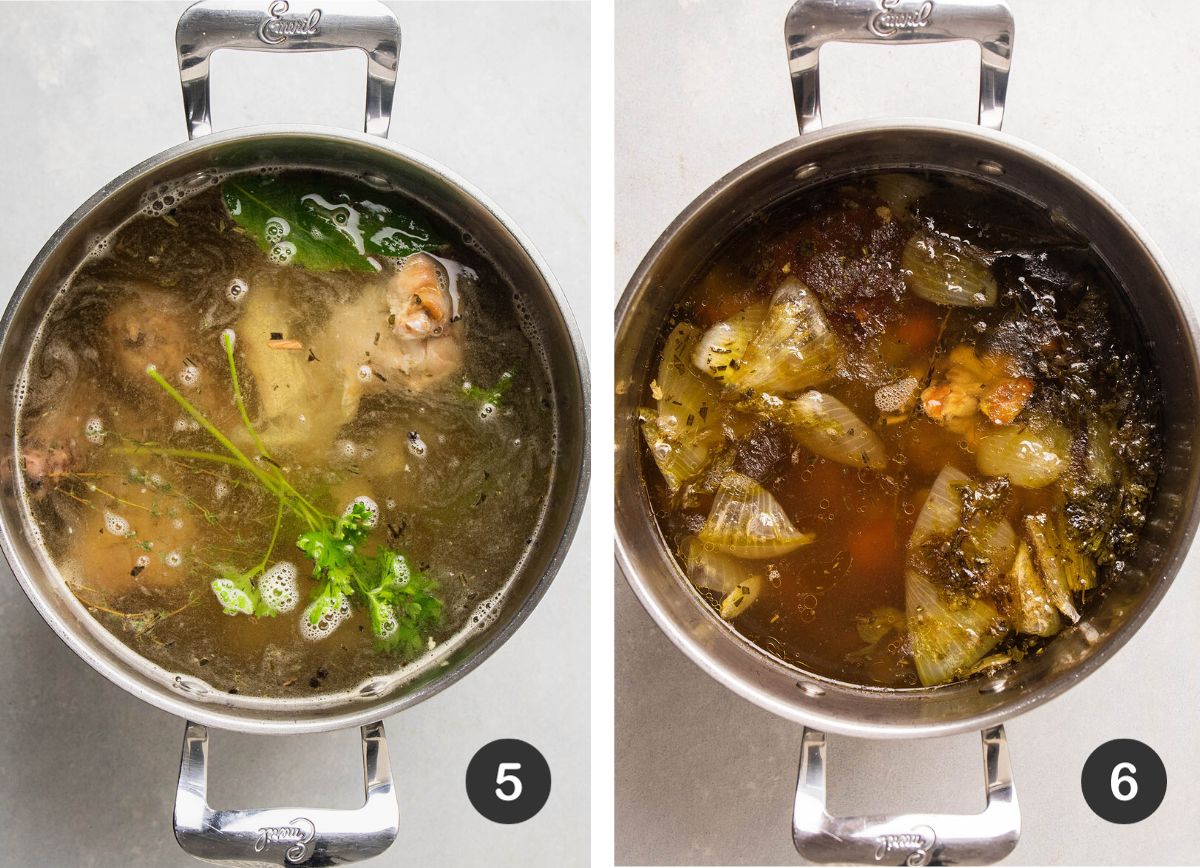
Stir everything together (Image 5, above), then bring the broth to a low simmer. Cook for 3-4 hours, until the veggies are soft and the stock is a vibrant color (6).
Pro Tip: If you notice any scum or foam along the top of the stock as it cooks, use a large spoon to skim it off and discard it. Removing these impurities as you go will give you a cleaner, clearer stock.
Strain out the Solids
Turn off the heat and let your stock cool, uncovered, for 15-30 minutes or so to make it easier to handle. Then, it's time to strain!
We like to start by using a large spider or slotted spoon to pull out the largest chunks from the stock (Image 7, below). Discard or compost these solids.
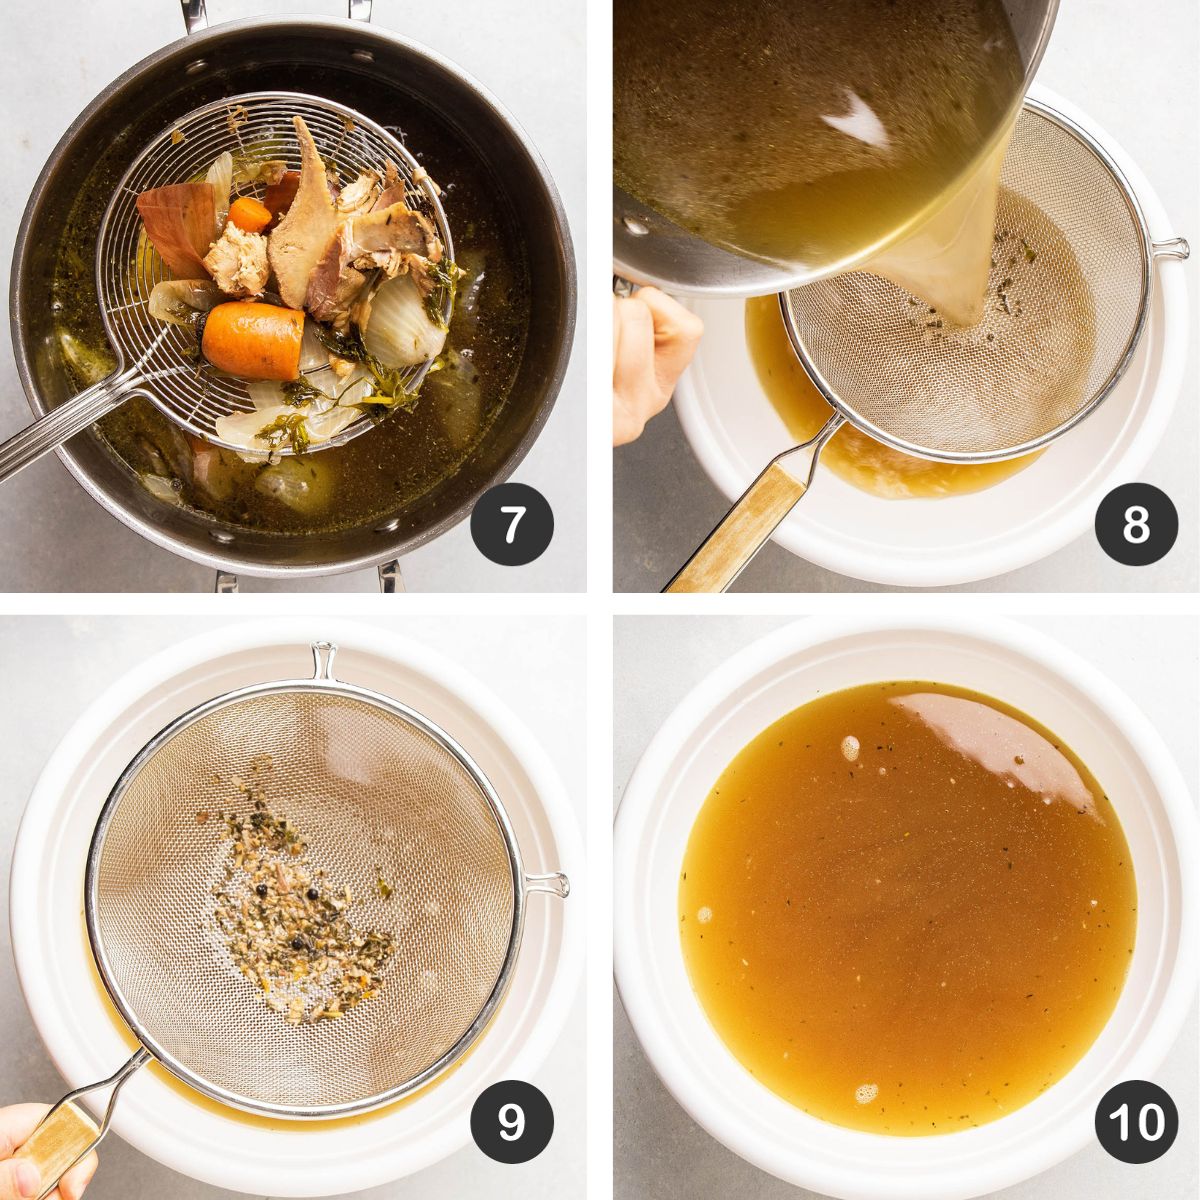
Once you've removed the big pieces, place a fine mesh strainer or colander over a very large bowl. Carefully pour the broth through the strainer and into the bowl (8) to remove any last solid pieces. Depending on the size of your bowl, you may need to do this in batches!
Compost or discard the solid pieces once they're strained out (9). You'll be left with a big bowl of deep, rich turkey stock (10)!
Storage and Freezing
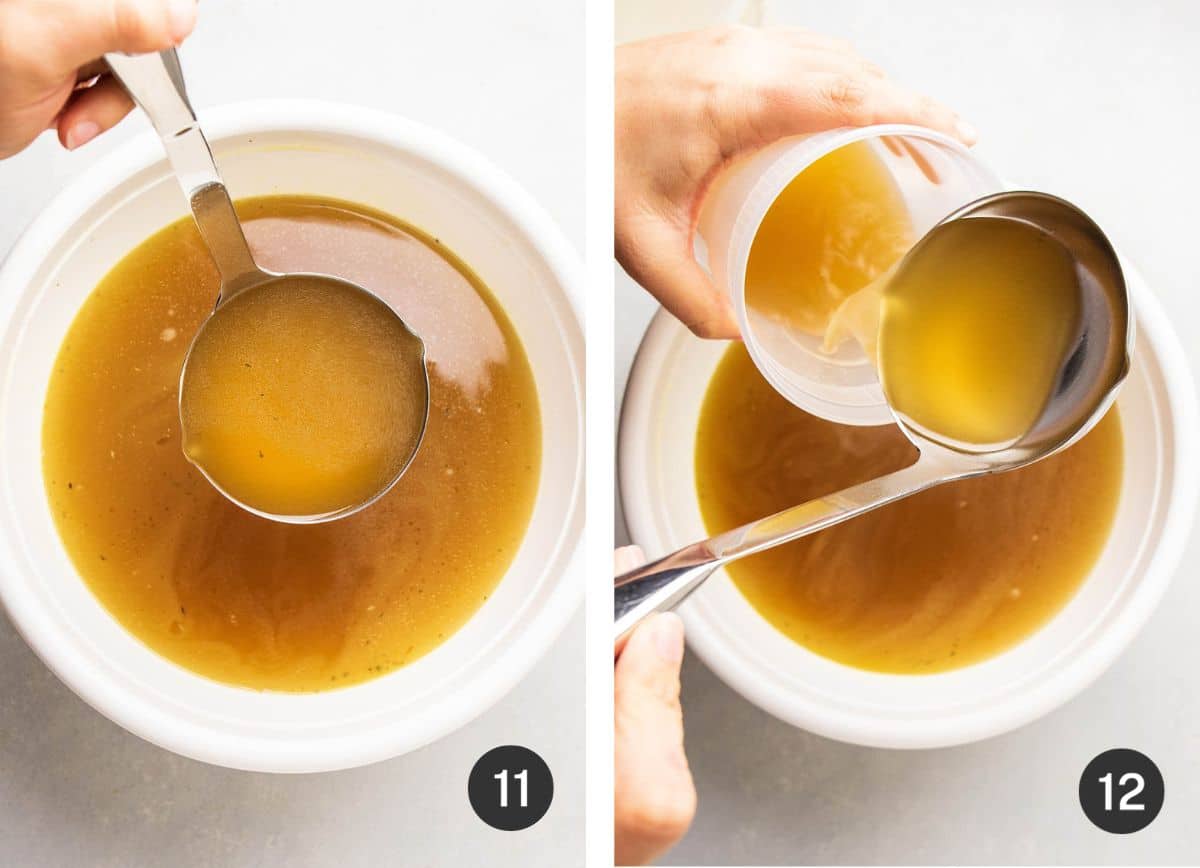
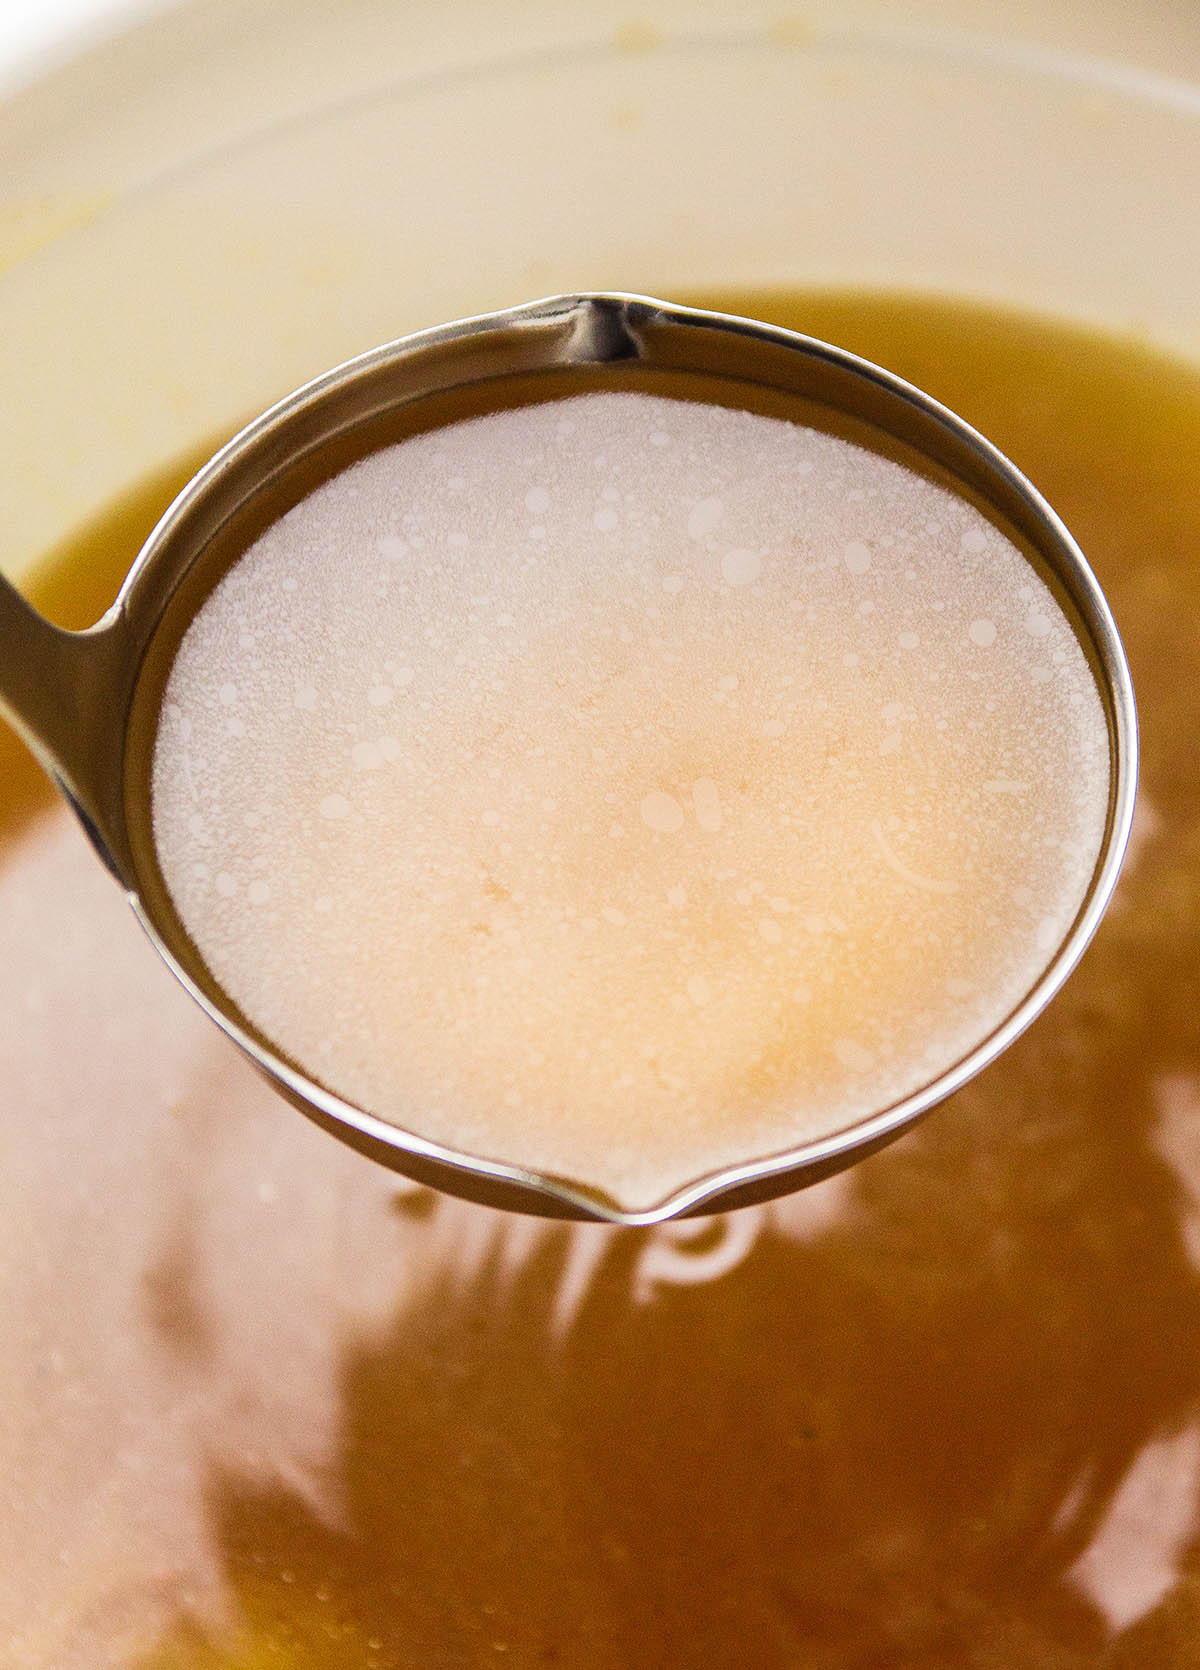
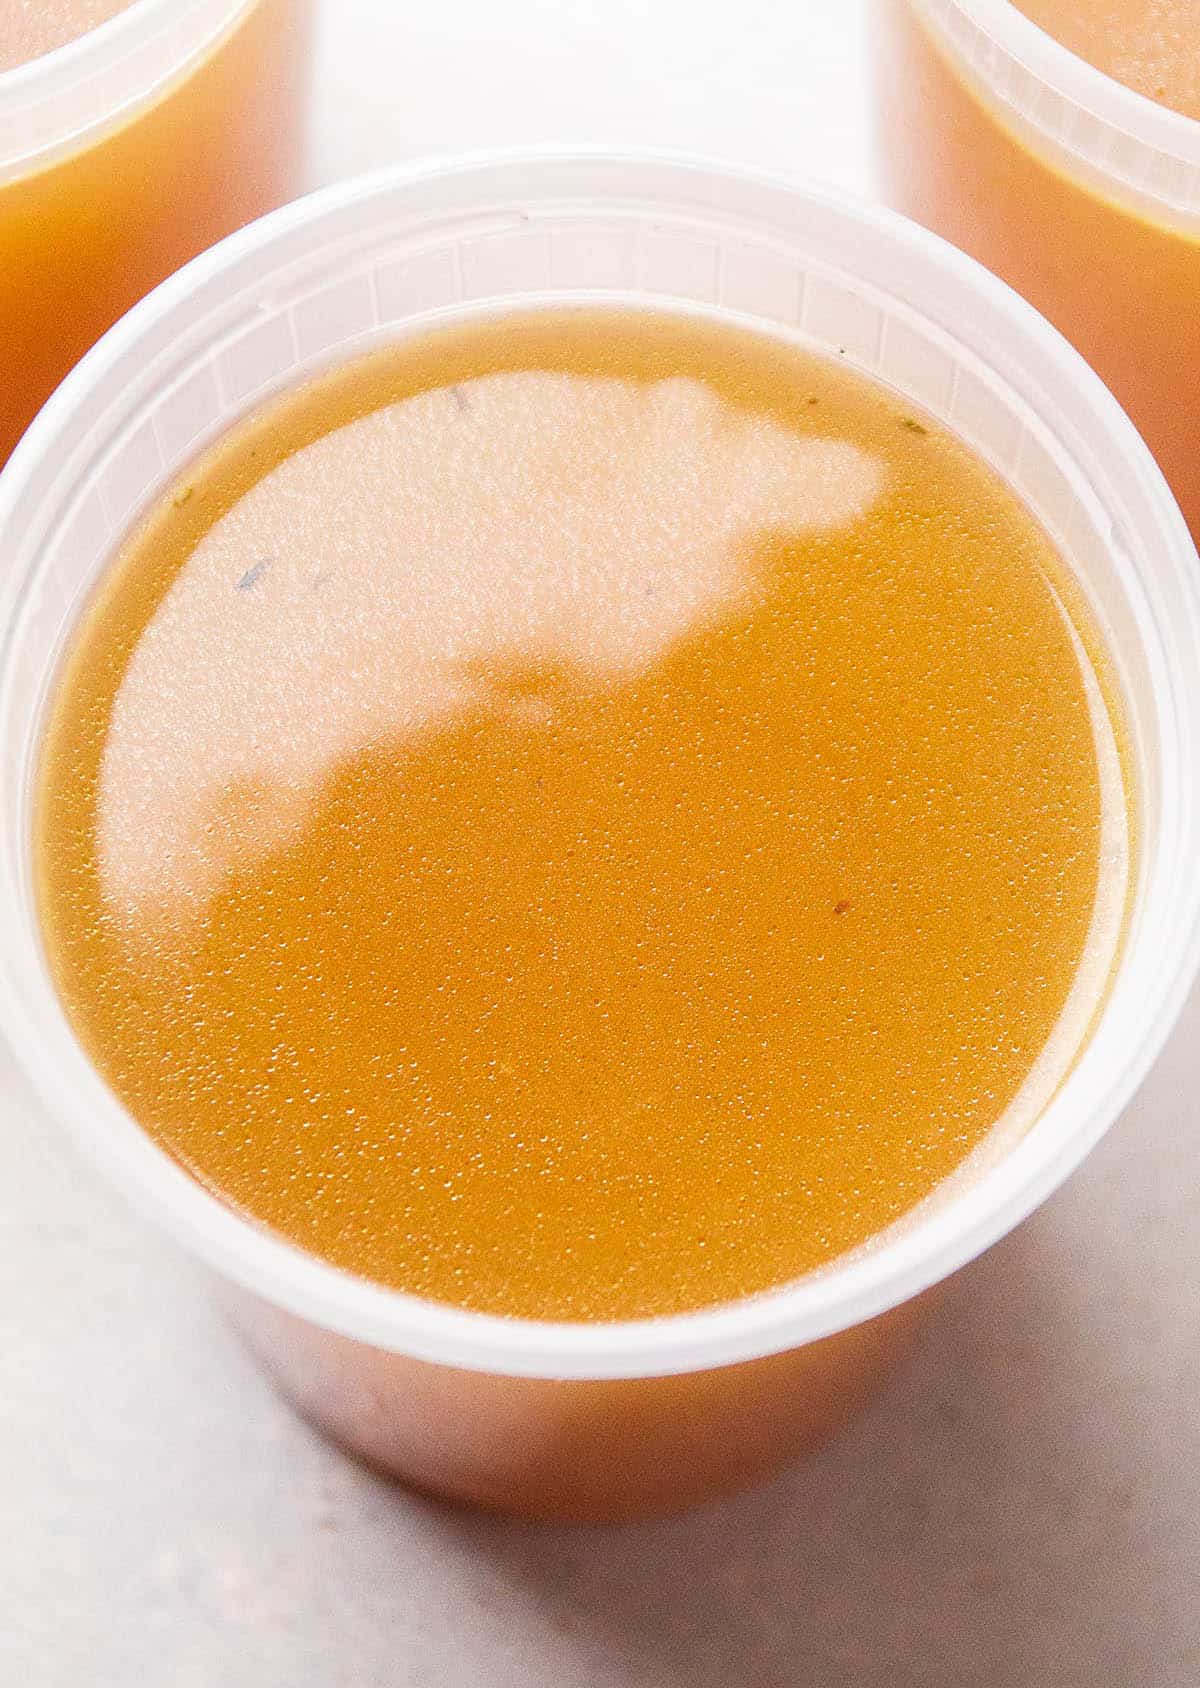
Use a large ladle to transfer stock to storage containers. We like using plastic deli containers for our homemade stock: They're tall, sturdy, and expand easily in the freezer without cracking.
Let the stock cool, then pop the lids on and transfer it to the fridge. Store turkey stock in the fridge for up to a week, or freeze it for up to a year. Defrost frozen stock overnight in the fridge when you're ready to use it.
Three Tips for Freezing Turkey Stock
- Leave room at the top of the container. Liquid expands as it freezes: Be sure to leave at least an inch of room at the top of any jar or Tupperware, so the stock can expand without putting too much pressure on its container and causing it to crack or break.
- Use flexible, plastic containers if you can. When broth expands in the freezer, it can crack glass mason jars. We use plastic deli containers to store all of our frozen broth and stock!
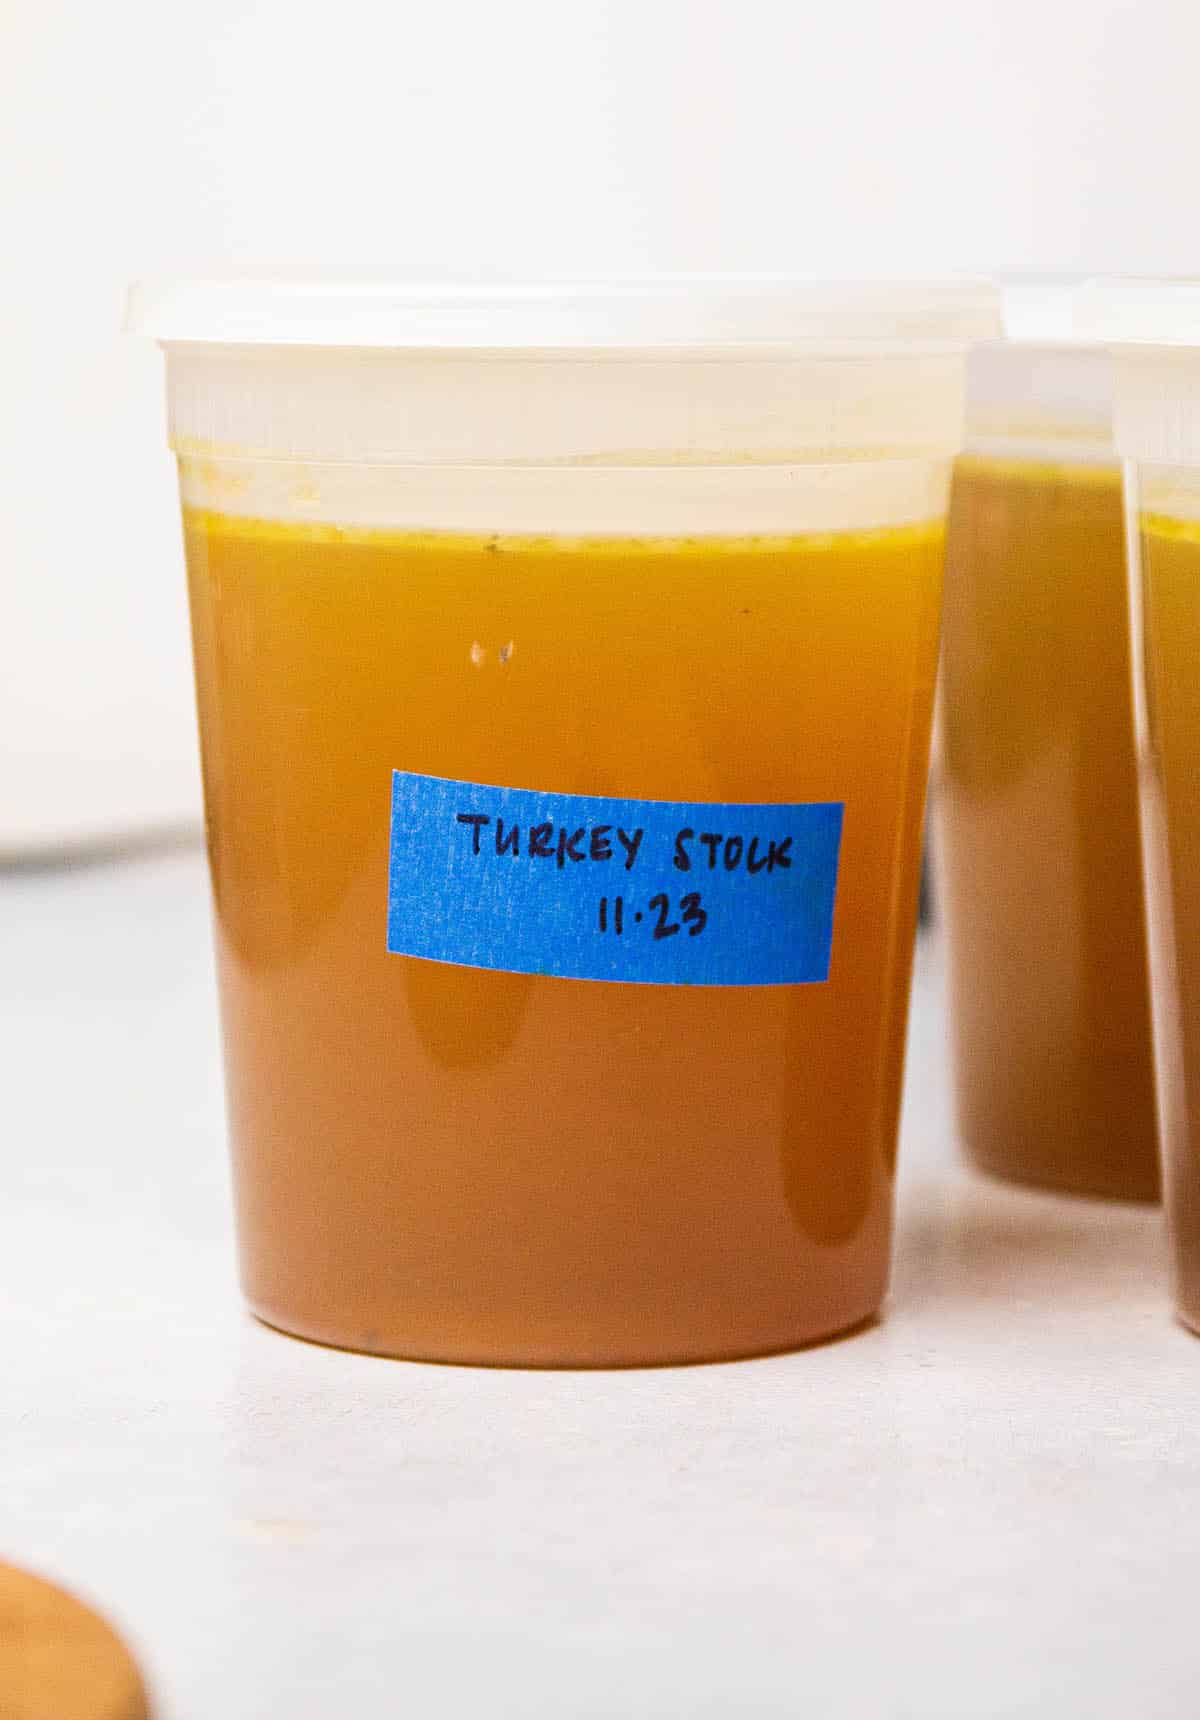
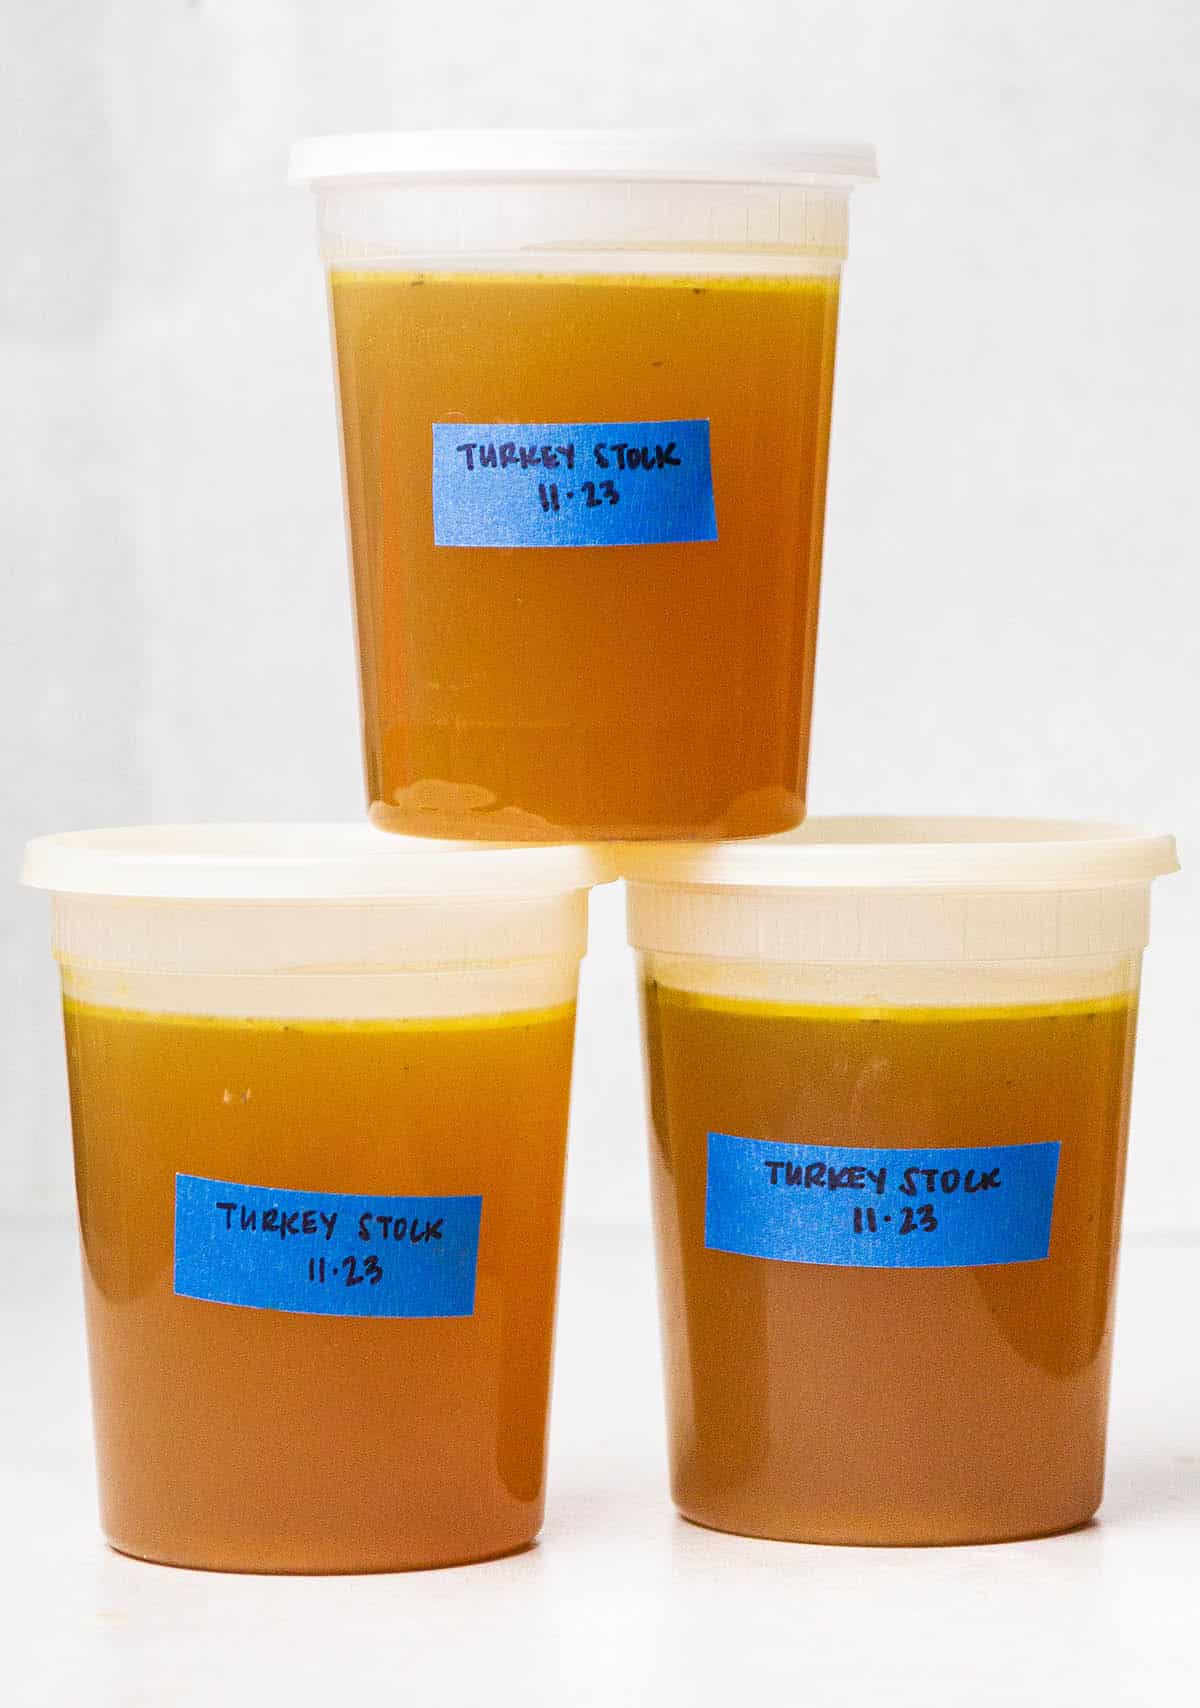
- Label it! Turkey stock looks just like chicken broth or parmesan broth in the freezer. Be sure to label it "Turkey Stock" and include the date you made it so you know what's what when you grab it later!
Food Safety Notes
Per the USDA, all perishable foods (including this turkey stock!) should be moved to the refrigerator within 2 hours of cooking. This "Two-Hour Rule" ensures food doesn't linger too long in the temperature "danger zone" (between 40-140° F) where bad bacteria can thrive.
Ideally, we want our turkey stock to cool down to room temperature before we transfer it to the fridge (if we put hot items directly into the refrigerator, it can increase the overall fridge temperature, which can ALSO cause food safety issues). But because this recipe makes a BIG batch of very hot stock, it doesn't always cool as quickly as we'd like. That's where these food safety tips come in!
3 Tips for Safely Cooling and Storing Turkey Stock
- Use small, shallow, or not-quite-full containers. Smaller amounts of turkey stock will cool off more quickly on the counter. Use small or shallow containers, or fill larger containers only partially full (once the stock has cooled, you can condense it into fewer containers!)
- Set a timer on your phone. When the stock is done cooking and you turn off the heat, set a timer for 1 hour and 30 minutes. Strain the stock normally and divide it into storage containers, then let it cool until the timer sounds. When alarm goes off, check on the stock: If it's at room temperature, it's good to cover and put in the fridge! If the stock is still quite warm, put it in an ice bath for 15-30 minutes before transferring it to the fridge (see the next tip).
- Place containers in an ice bath. If your stock is still hot as you approach the end of your 2-hour window, carefully place the stock containers in a large, tall dish (we use a cake pan or lasagna dish). Fill the space around them with ice cubes, then pour in a bit of cold water until it reaches the top of the pan. Let the stock sit in this ice bath until the end of your 2-hour food safety window, or until it's cool enough to refrigerate (whichever comes first). If the stock is especially hot, you may need to replace the ice water every 10 minutes to keep it nice and cold.
How to Use Turkey Stock
You can swap turkey stock anywhere you'd normally use chicken stock, veggie stock, or parmesan broth. Some of our favorite ways to use it:
- Use homemade stock in a good, cheesy risotto recipe (try it in our summer risotto, butternut squash risotto, or red wine mushroom risotto!)
- As the base for Brothy Weeknight Butter Beans (it's also great in our pesto beans!)
- All the soups! This stock is delicious in soup and stew recipes.
Frequently Asked Questions
We recommend using a large stockpot or a large Dutch oven for this recipe. Look for a sturdy, relatively tall pot that will hold at least 5-6 quarts of liquid.
Yes! Leave out the turkey and double the veggies if you'd like a plain vegetable broth.
Typically, stock includes bones - it's made with drippings and scraps from chicken, turkey, or beef. Stock also tends to have a longer cook time in order to pull all of the nutrients and collagen out of those bones, and can therefore have a thick, gelatinous texture once it's cooled. Broth, by contrast, is cooked a little bit quicker. Broth may include meat, but won't necessarily include bones. Because this particular recipe uses bones, it's easiest to classify it as a "stock." But honestly, they're pretty interchangeable. (Bone broth, for example, is technically a stock. So basically: Call this whatever you want.) Learn more: What's the difference between stock and broth?
It's really up to you! I typically leave my turkey stock partially covered (with the lid kind of perched on top of the pot, leaving about ⅓ of the pot uncovered) while it cooks because I love the way it fills the house with its aroma. Because this stock cooks in just a few hours, you won't lose too much liquid to evaporation - plus, letting that little bit of the liquid evaporate as the broth cooks helps to concentrate the flavor for a richer final product! If you have kids running around, or if you're planning to let the broth simmer for a longer period of time, you can pop the lid on while it cooks.
Yes - sauté the veggies in a separate pan (or skip this step entirely!) and toss everything in a large crock pot for 6-8 hours on low heat.
If you're keeping turkey stock in the fridge, you can absolutely use glass mason jars! We do not recommend freezing this stock in glass jars though, as they can crack and break when the stock expands in the freezer.
This recipe has NOT been tested for safe home canning and we do NOT recommend canning or preserving this recipe at home. If you would like to can homemade turkey stock, we recommend searching for a recipe that has been specifically tested for home canning.
As the turkey stock sits in its containers, you may notice a thin layer of fat rise to the top. If you'd prefer to remove any extra fat from your turkey stock, don't worry: This fat will cool into a fairly solid piece as the stock sits in the fridge. Once the stock is cold, you can lift that solid fat off the surface of the stock and discard or compost it.
Yes! If you don't already have a picked-over leftover turkey carcass, you can buy a few turkey wings and turkey legs at the store and roast them up specifically for this purpose. Roast the turkey pieces until they're browned and cooked through, pick off any meat (if you like) and proceed normally.
Recipes That Use Turkey Stock
Not sure how to use your magical homemade turkey stock? Swap it for the chicken or vegetable broth in any of these recipes (check out our soup recipes)!
Did you make this recipe? Leave a comment and star rating below to let us know how it turned out!
Print📖 Recipe

Turkey Stock
- Prep Time: 15 minutes
- Cook Time: 4 hours
- Total Time: 4 hours 15 minutes
- Yield: 3-4 quarts 1x
- Category: Sauce
- Cuisine: American
Description
Turn those Thanksgiving leftovers into delicious homemade turkey stock with this easy recipe!
Ingredients
- 1 Tablespoon unsalted butter
- ½ yellow onion, roughly chopped
- 2 large carrots, roughly chopped
- 2 stalks celery, roughly chopped
- 1 ½ pounds turkey bones and drippings
- 2 fresh bay leaves
- 2-3 sprigs fresh parsley
- 2-3 sprigs fresh thyme
- 1 Tablespoon whole black peppercorns
- small pinch kosher salt
- 4 quarts (16 cups) water
Instructions
Sauté the Veggies (5-10 minutes)
- Melt butter in a large stock pot over medium-high heat. Add onion, carrots, and celery and sauté, stirring only occasionally, for 5-10 minutes until some deep, golden brown color has developed across the surface of the veggies.
Build the Flavor & Simmer the Broth (3-4 hours)
- Add turkey bones, bay leaves, parsley, thyme, and peppercorns to stock pot along with a small pinch of salt. Add water until the pot is nearly full. Stir to combine.
- Reduce heat to medium. Let the stock cook, uncovered or partially covered, at a low simmer for 3-4 hours. If any scum or foam appears on the surface of the stock as it cooks, use a large spoon to skim it away and discard. Add a little more water to the pot if needed as liquid evaporates. Note: I like to place a lid on top of my stockpot and slide it slightly to one side, so that about ⅔ of the pot is covered as the stock cooks. I find this helps reduce evaporation but still lets any impurities rise to the surface so I can skim them away as the stock cooks. This isn't super necessary, though - just leave it uncovered if that's easier!
- When the stock is ready, the veggies will be quite soft and have lost most of their color, while the broth itself will be a rich golden hue.
Strain, Cool, and Store (no more than 2 hours)
- Turn off the heat and let broth cool for 15-30 minutes before straining.
- Use a large slotted spoon or spider strainer to pull any large veggies and turkey bones out of the stock. Compost or discard these remnants.
- Set a mesh strainer on top of a very large mixing bowl. Carefully pour the stock through the sieve to remove any lingering solid pieces.
- Transfer stock to airtight containers (we like to use large deli containers). Let stock cool, uncovered, for another hour, or until it reaches room temperature. Add lids to the containers of cooled stock and transfer to the fridge. Store in the fridge for up to a week, or freeze for up to a year.
Notes
Additions and Substitutions. This stock recipe is SO flexible! The turkey bones and water are the star players here, but the rest of the ingredients - what we like to call our "flavor enhancers" - are easy to adjust. We recommend using 4-6 flavor enhancers any time you make turkey stock for a balanced, robust flavor. Shallots, white wine, rosemary, sage, mushrooms, and leeks are all wonderful additions here. This is also a great place to use any leftover veggie scraps, like carrot peels, dark green leek pieces, garlic trimmings, or end pieces of an onion. Be sure to read the full post above for more guidance on swaps and substitutions!
Do I have to sauté the veggies? No - if you're short on time, you can skip this step. You'll lose a little bit of depth and complexity, but the stock will still taste great!
How long should I cook my stock? This stock is typically "done enough" after about 3 hours on the stove: It'll have a rich color, lots of flavor, and be perfectly usable in all your favorite recipes. That said, you CAN cook it longer if you like: We frequently leave the stock simmering a little longer if it suits our schedule (or if we're just enjoying the general vibes and aroma). A longer cook time yields even richer, more concentrated flavor, and can also extract more collagen from the turkey bones (similar to a thick, gelatinous bone broth, which often takes 8-12 hours or more to cook).
Food safety. Transfer cooled turkey stock to the fridge within 2 hours of taking it off the heat; if your turkey stock is still hot as it approaches the 2-hour mark, set the containers in a shallow ice bath to bring it down to room temperature before placing it in the fridge. For more food safety tips, be sure to read the full post above.
Storage and freezing. Ladle turkey broth into individual containers, and let it cool uncovered on the counter before putting on the lids and transferring it to the fridge. Store in the fridge for up to a week or in the freezer for up to 6 months. Defrost frozen stock in the fridge overnight when you're ready to use it. If you plan to freeze your turkey stock, we recommend using plastic airtight containers instead of glass (the broth will expand as it freezes, which can cause glass jars to crack).
As the stock sets, any lingering fat will solidify! When the stock cools, any butter or turkey fat still in the broth will rise to the surface. After a few hours in the fridge, the fat will solidify and can be easily lifted out of the stock with a spoon if you'd like to discard it.
Use turkey stock anywhere you would use chicken or veggie stock! We love this broth in brothy butter beans, tortellini soup, in a cozy butternut squash risotto, or in place of veggie broth in our Magic Cauliflower Cream sauce!
Nutrition
- Serving Size: 1 cup
- Calories: 127
- Sugar: 1 g
- Sodium: 114.3 mg
- Fat: 5.2 g
- Carbohydrates: 2.5 g
- Protein: 16.5 g
- Cholesterol: 64.3 mg
Keywords: broth, thanksgiving, turkey
This recipe was originally published in 2012. It was updated in 2023 with additional photos and notes.
A quick note about the nutrition facts above: We use an online calculator to generate approximate nutrition information for our recipes. Because the functions of these calculators are limited, we aren't able to account for REMOVING the solid vegetables and turkey pieces from this stock once it's cooked. As a result, the nutrition info above includes the nutritional value of the solid turkey and veggies that flavor our stock, and likely shows much higher numbers than what this strained stock actually contains. Without a professional lab test, this is the most accurate info we can provide: Please keep that in mind if you rely on nutrition information to make calculations about your meals!








Kyle
Perfect recipe!. Let's you control the salt levels of your stock, give an economical use of turkey leftovers, and makes your home smell amazing!
★★★★★
Alexandra
Do you think it's a good idea, if one decides to freeze, to freeze by the cup? So one only needs to thaw the exact amount?
Jessie
Absolutely! I usually freeze 2-3 cups in each container, so that I can defrost the perfect amount for a soup recipe all at once. It helps to have anything you freeze pre-measured to eliminate hassle when you defrost and cook!